Make This DIY Witch Hat Easily for CHEAP!
Make This DIY Witch Hat Easily for CHEAP!
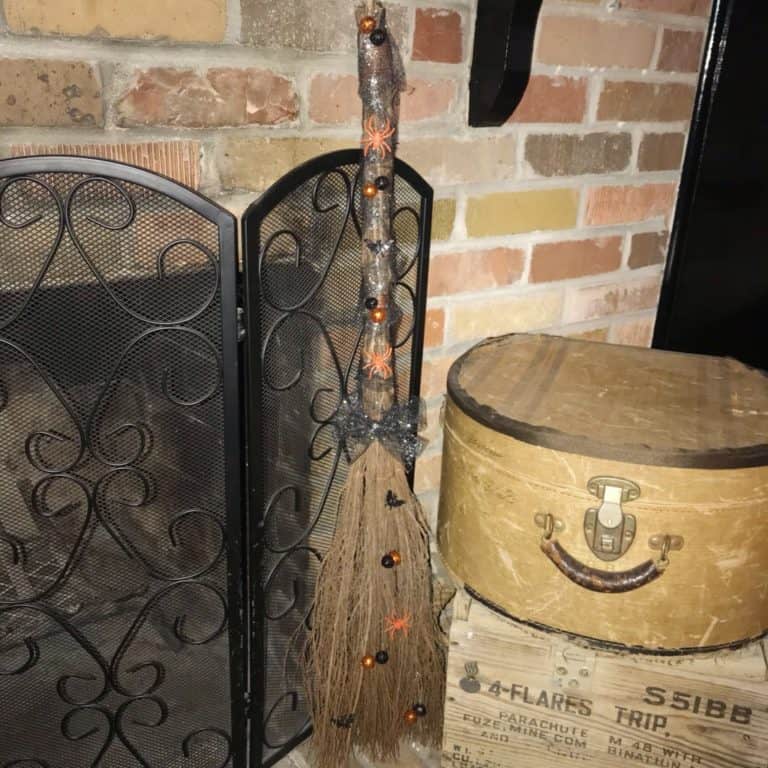
Happy Thursday friend. Thanks for stopping by the blog today. I am so glad you are here. It’s the end of August and we are in full Fall swing over here. I decorated my Halloween mantel last week. And it has me wishing it were Halloween. I love this time of year so much. The weather of Summer is my favorite. But there’s something about crisp air that I enjoy so much. So I made a DIY witch hat to use for a decoration in my living room but could also be used as a last minute costume on Halloween. I want to show you exactly how you can make one too. Because it’s shockingly affordable and will only take a few minutes to make.
You can create it in a quick afternoon and use it for your next Halloween party.
You can click on each highlighted craft supply to see exactly where you can get it!
Items you will need:
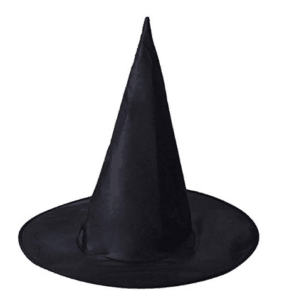
- Black Witch Hat
- Glue Gun
- Glue Sticks
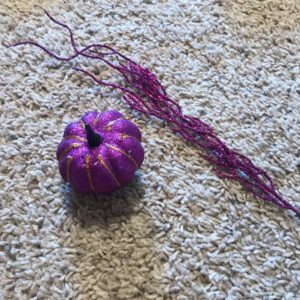
- Small Purple Pumpkins
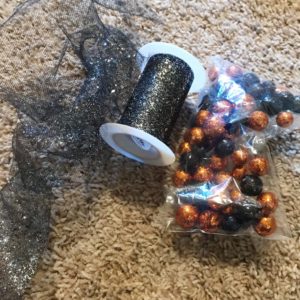
- Black Sparkle Ribbon
- Black Glitter Balls
- Purple Glitter Bats
- Plastic Spider Rings
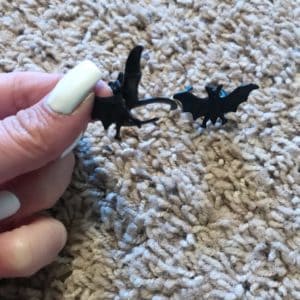
- Plastic Bat Rings
- Black Feather
- Black Flowers
- Purple Glitter Branches
So there wasn’t as much of a technique to making this DIY witch hat as you may think. It’s a process of hot gluing items on until they look proportionate.
To start out you will need just a regular black witch hat with nothing on it.
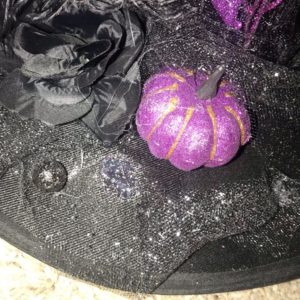
I used black and purple accents on the DIY witch hat. All of these fun Halloween supplies came together really well. You will see small purple pumpkins, and glitter branches.
You will want to make sure you have glitter ribbon and styrofoam glitter balls.
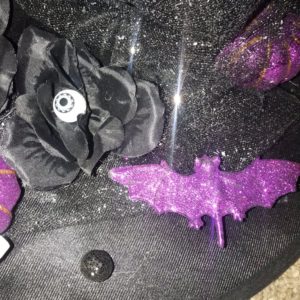
For Halloween projects I always use little plastic Halloween rings as decor. And I cut the ring part off and hot glue the bat on.
Keep reading more!
First you will wrap the ribbon around the entire hat multiple times from top to bottom. Once the ribbon is wrapped around you will have to hot glue it on carefully will small dots of glue.

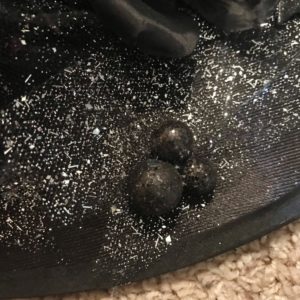
I put 3 styrofoam glitter balls together and hot glued them in place randomly around the hat.
You will hot glue the pumpkin and black flowers on top of the ribbon. But make sure they are glued and attached to the brim of the hat.
So you will continue to hot glue on the rest of the Halloween craft supplies on the brim. You will just glue them on randomly until it looks even and proportionate.
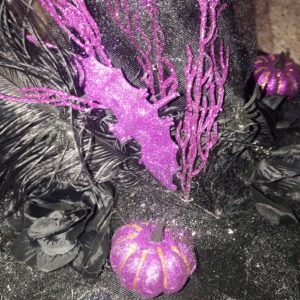
Around the top of the hat I hot glued a large black feather and the purple glitter branches.
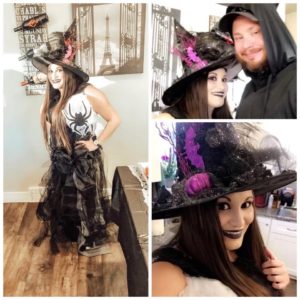
Lastly, you can see the end result here.

It turned out so cute. And I got so many compliments on it when I wore it to a Halloween party.
I hope you liked this cute DIY witch hat. It’s so affordable and a fun craft project for Halloween. Don’t forget to tag me on Instagram if you make this project. I love seeing all the DIY’s you make from my tutorials.
So if you are fully in Halloween mode like I am you can see my round up blog post where I teamed up with some amazing bloggers to bring you a ton of the best DIY Halloween crafts.
Click HERE.
Popular Blog Posts:


Also, have you ever thought about starting your own blog? You will learn the exact steps with how to start your own blog the easy way. I never thought I would be able to make a full time income from this blog when I started it.
Don’t forget to join my blog family by filling out the form below. You will be the first to get blog updates and DIY tutorials.
Thanks for stopping by the blog today. It means so much to me that you are here.