How To Make New Wood Look Old. Easy Steps to Create a DIY Rustic Wood Vintage Lookalike.

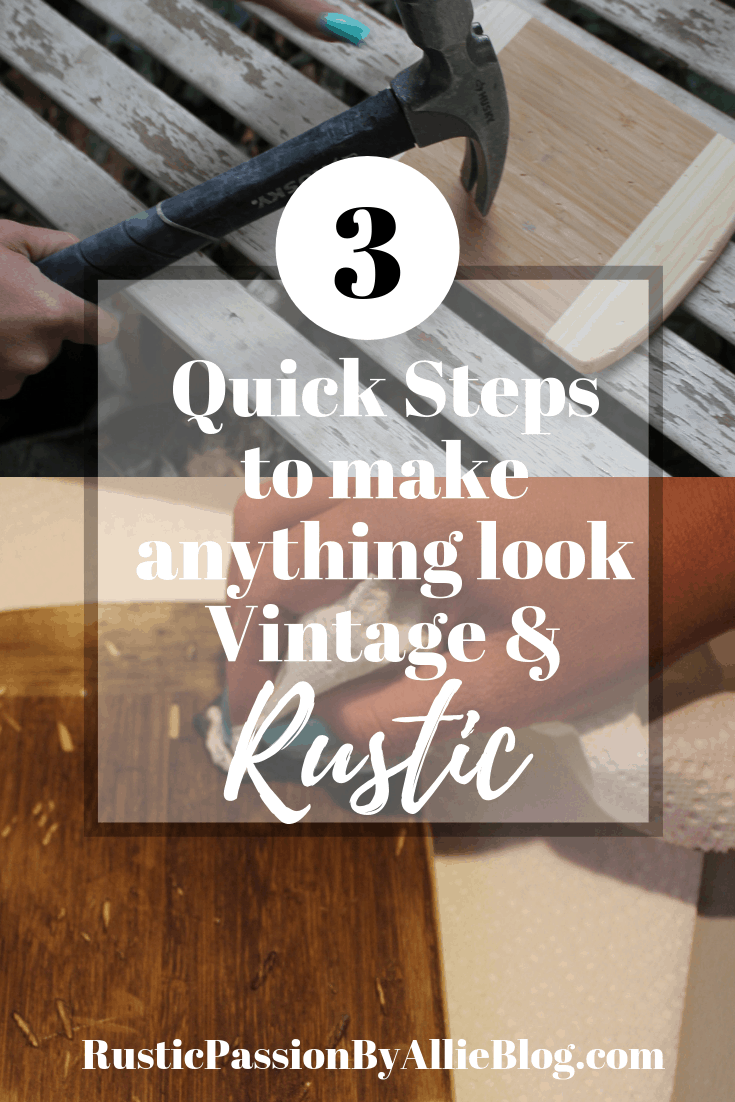
Learn the easiest way to turn new wood into old lookalike wood. It’s the best technique for DIY Rustic Wood.
Hey friends! I hope you all are having a great week so far. It has been a crazy snow storm in Utah for the past couple days. It makes me want to stay inside and stay warm.
Honestly, I am always redoing everything… Including furniture, decor, signs.. You name it. I’ve probably given it a quick paint job or makeover.
Modern Farmhouse style and rustic decor have my heart. I can’t get enough of the neutral white and wood look. So I use white paint on literally EVERYTHING and dark gorgeous wood stain.
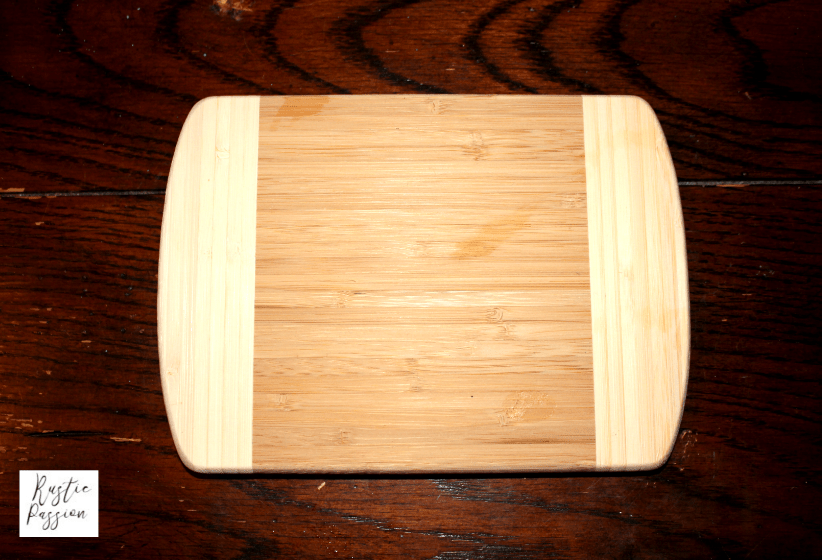
For Christmas my husbands employer got us a fruit gift basket. It came with fruit, crackers, and a cute little cutting board. I was planning on using this cutting board as decor and knew I wanted to give it a makeover.
Really though project was super easy. You will need a few basic items. I used stuff around the house. Most likely you will already have all the items. I’ve linked them just in case! I’ve gottttchu. 🙂
Rather than buying items you can always see what you already have!
So take a few minutes to look around your house for some sort of wood item. I used the cutting board, but anything wood will do.
For example.. wood trays, planters, wood signs, cutting board. Pick a wood item and go to work making your own DIY rustic wood!
Also, If you want to be a part of my blog family don’t forget to fill out the form below. Let’s connect!
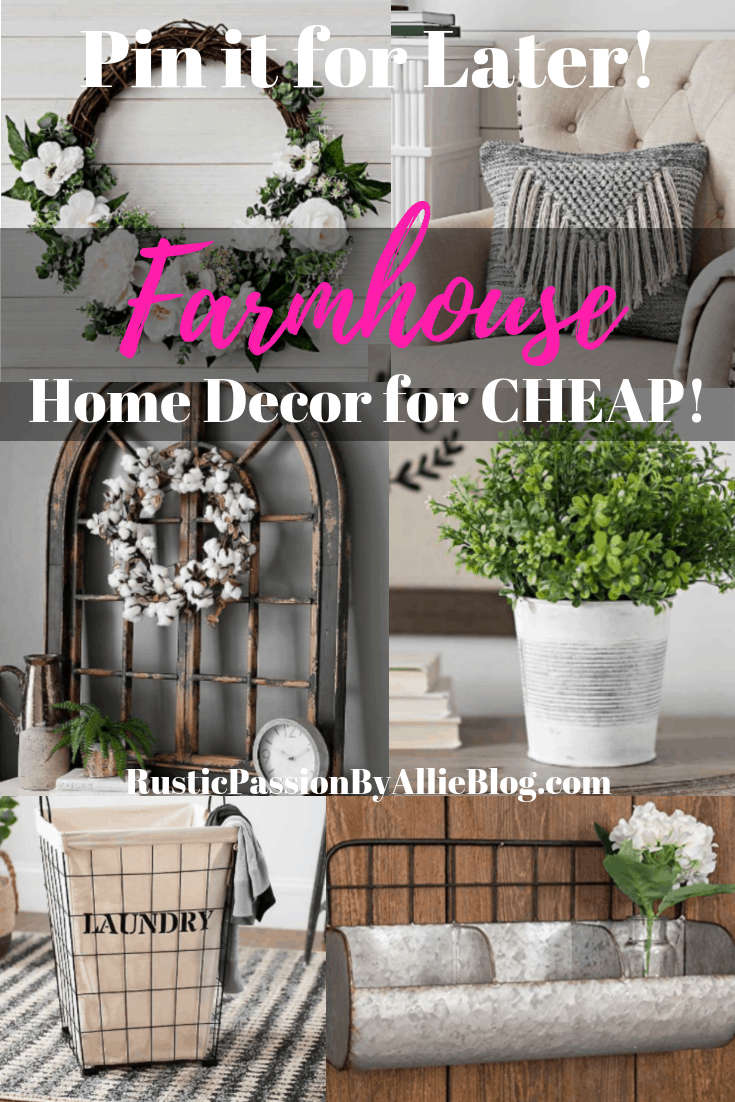
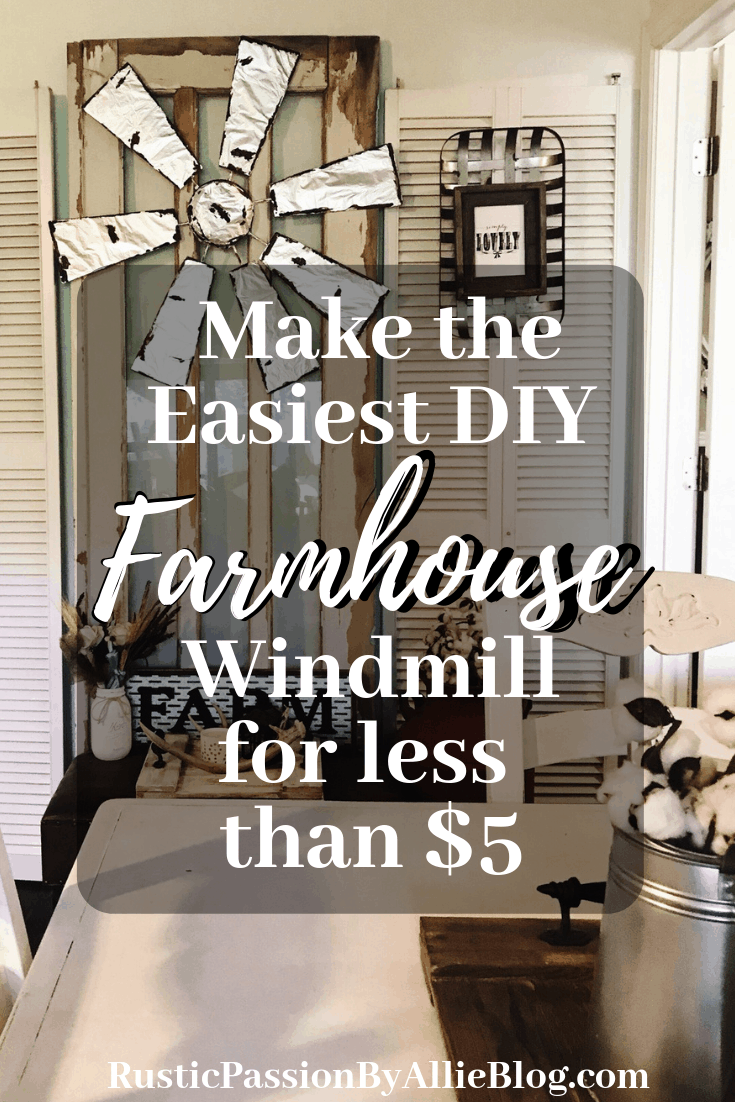
Popular Blog Posts:

Some of the links on my blog are affiliate links, meaning no additional cost to you, I earn a commission if you purchase through the links. Thanks for supporting my dream!
Things you will need for your own Cutting Board Makeover:
It was a light oak wood before.
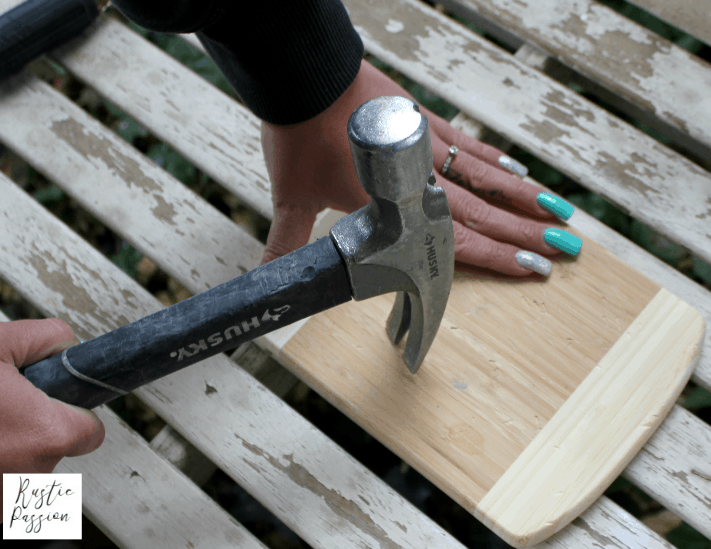
In order to get the desired look I used a hammer and screw driver to put dings and dents in it.
Don’t be afraid to beat the heck out of it!

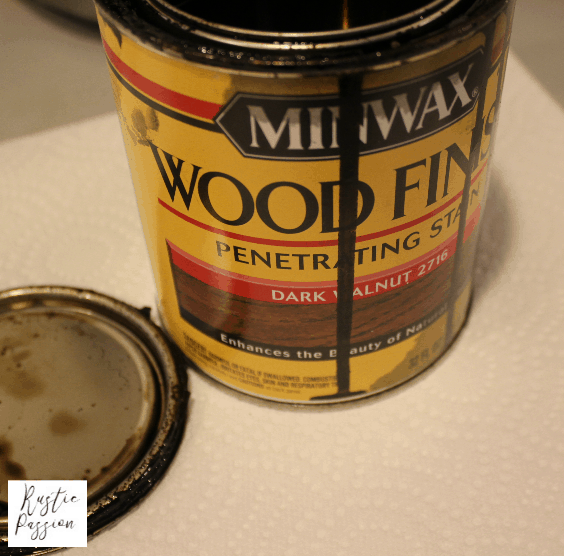
I used Minwax Dark Walnut stain which always turns out gorgeous. I love using this stain, it is definitely my go to.
What’s your favorite color of stain?
It took a couple coats to get the look I wanted. A quick tip when staining that I always do is use an old rag or paper towel to stain. It gets all areas much better than a paint brush. Especially when I stain furniture or signs it is so much easier to get the all the creases. In other words… never use paint brushes. They just don’t coat everything as good!
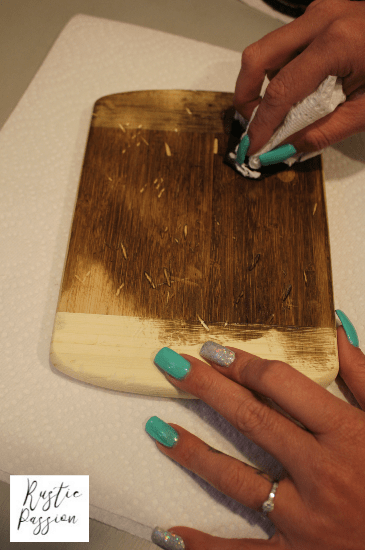
You will want to make sure it’s dry. Another equally important step about stain is you can wipe off the extra. You’ll want to wipe it off then it won’t take it forever to dry. After the cutting board was dry I sanded the edges and a couple areas on the front.
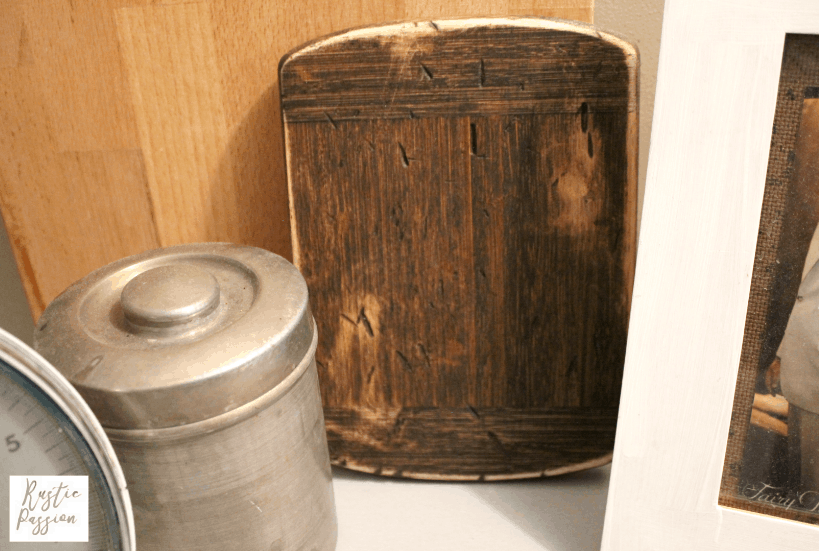
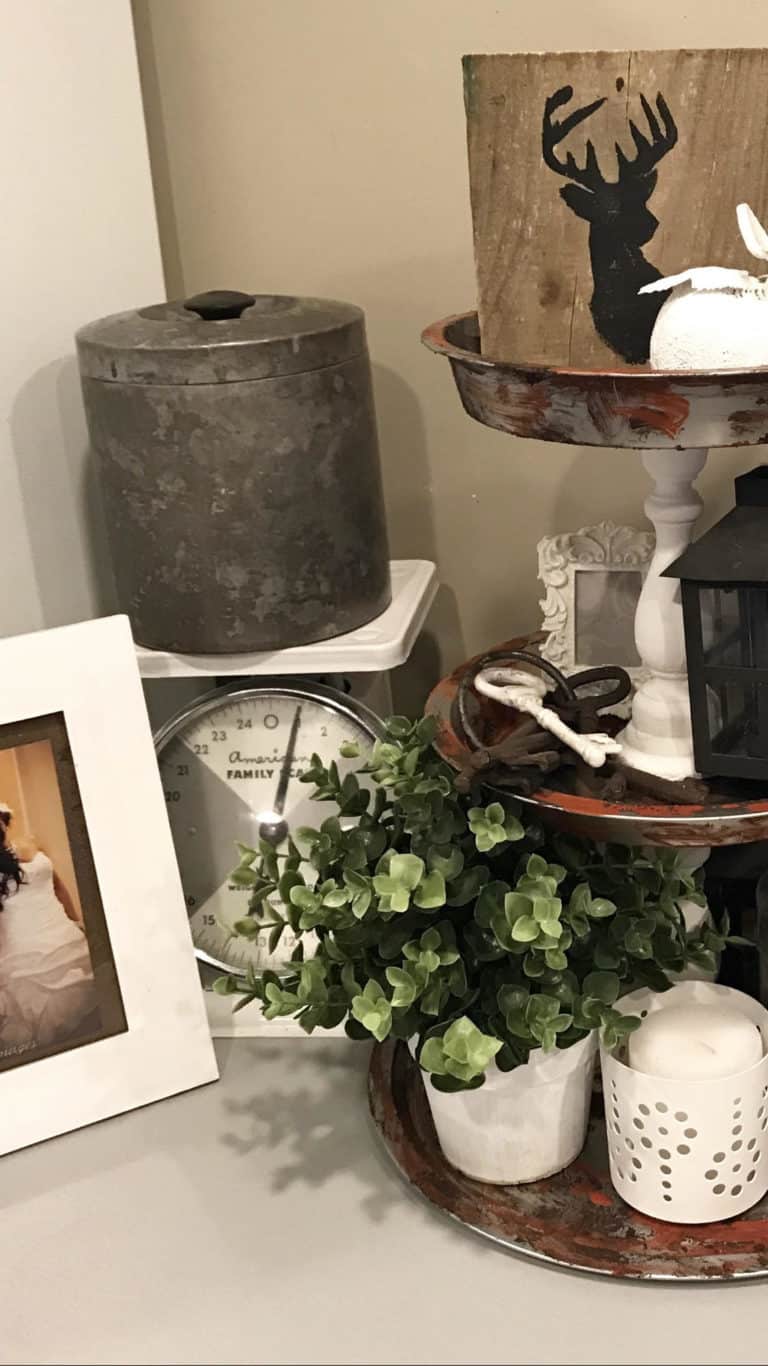
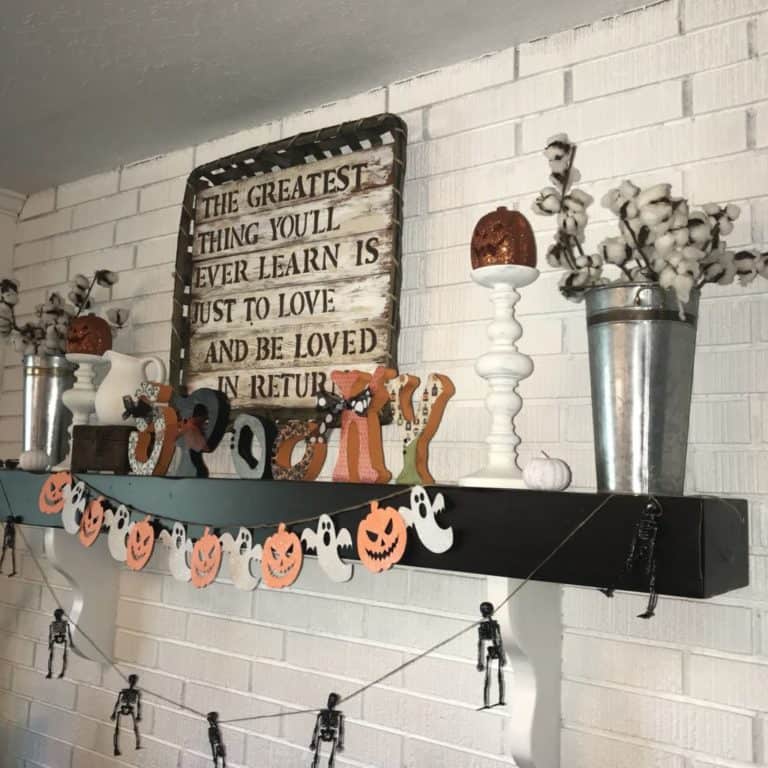
I put it in my kitchen to use as farmhouse decor and it looks perfect!

Do y’all love the way it turned out?! Because I do!
Lastly, have you been wanting to create your own blog? I make ALL of my income from being a full time blogger. Keep reading if blogging is something you have always been curious about.
In other words here is an amazing post for y’all to give you step by step instructions on exactly what I use. Really though take a look at my blog post How to start a Blog the easy way! I’ve included a list of the best tools I use for my blog. I have used all the items in this blog post personally and absolutely love them. I have also linked discounts or the best price possible for each item. Go read it now and start a blog the easy way!
I pour my heart into connecting with my community. So if you want to be a part of my blog family I would love to connect with you. Let’s be friends on Instagram, Pinterest, and Facebook.
Thanks for stopping by friends.