How to Distress Furniture without Sanding. This DIY Makeover is so FUN!

Hey guys! I hope you are having a happy Monday and had an amazing weekend. This weekend was crazy for us we had so much going on. During summer I always love to go yard selling. It’s seriously so much fun. A lot of my furniture is from yard sales. Giving furniture a quick paint job it gives it a new life.
This distressing technique is the easiest one you will ever see!
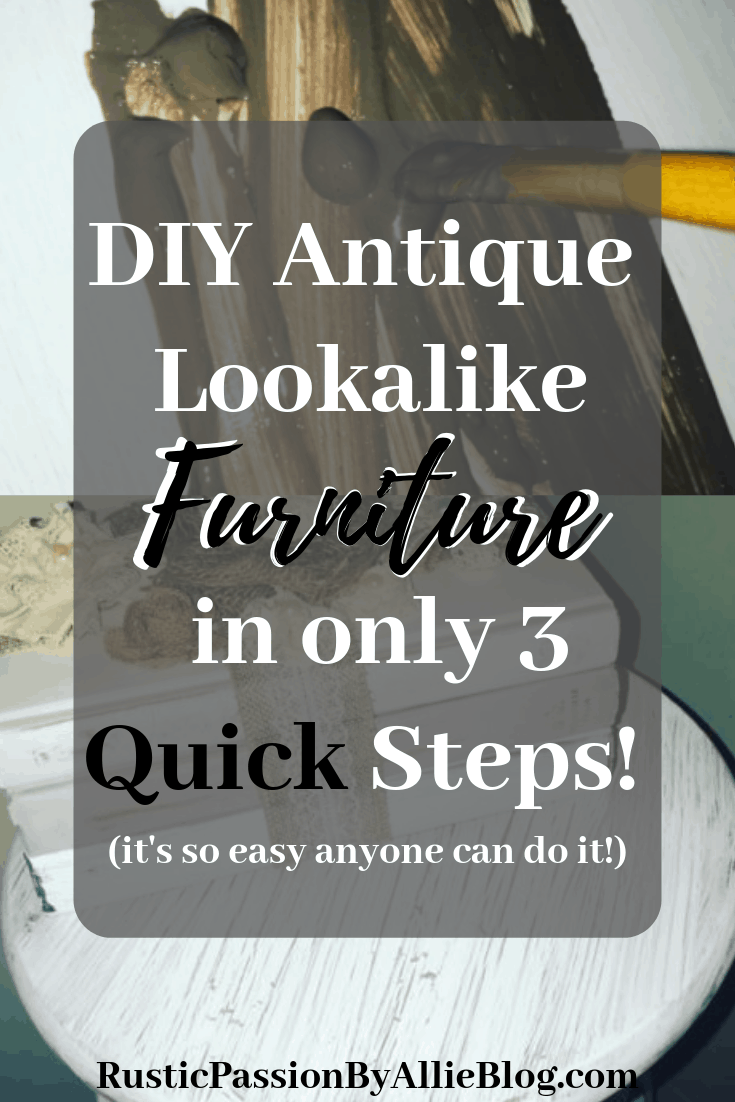
I will teach you a favorite technique I use regularly to distress furniture without any sanding. You can turn a regular piece of furniture into an antique lookalike. It’s seriously the best way to distress something. Why wait for 50 years for something to become weathered and old when you can make it look like that in a few short minutes!
Popular Blog Posts:
I launched my FREE Home Decor Resource Library. I want you to be part of it. Just fill out the box below and you will be sent the info immediately.
Here is what’s included with my FREE Home Decor Resource Library:
- Where to share your blog posts if you are a crafter, home decor blogger, or design influencer.
- I have created the best helpful information guides that will save you time and money including my discount codes when purchasing gorgeous decorations for your home.
- Top 100 Farmhouse decorations that will make your home look like it was designed by a pro!
- Where to buy high quality Farmhouse decor for CHEAP!
- DIY Home Decor tutorial videos to show you step by step how to create beautiful one of a kind decorations. New Video gets uploaded regularly.
- If you are a craft/home decor vendor beginner or pro you will be able to get tips and tricks (including my booth tracker and checklist for shows) that I have learned from many booth events.
- Product List for all DIYers – the best products you NEED to create all your own DIY crafts and home decor.
So why wouldn’t you want all that FREEEEEE content!?
Let’s show y’all this amazing distressing technique and get down to business!!! Once you do it you will want to use this technique all the time!
If you aren’t in the mood to go yard sales, or flea markets?? Don’t worry you don’t have to!
Because I am sure you have something around your house that you have been dying to give a makeover to. Something that no longer fits your design taste, for instance.
The best part about this technique you won’t need any sandpaper. But you will need a bit of time to spare one afternoon to give that furniture a new life.
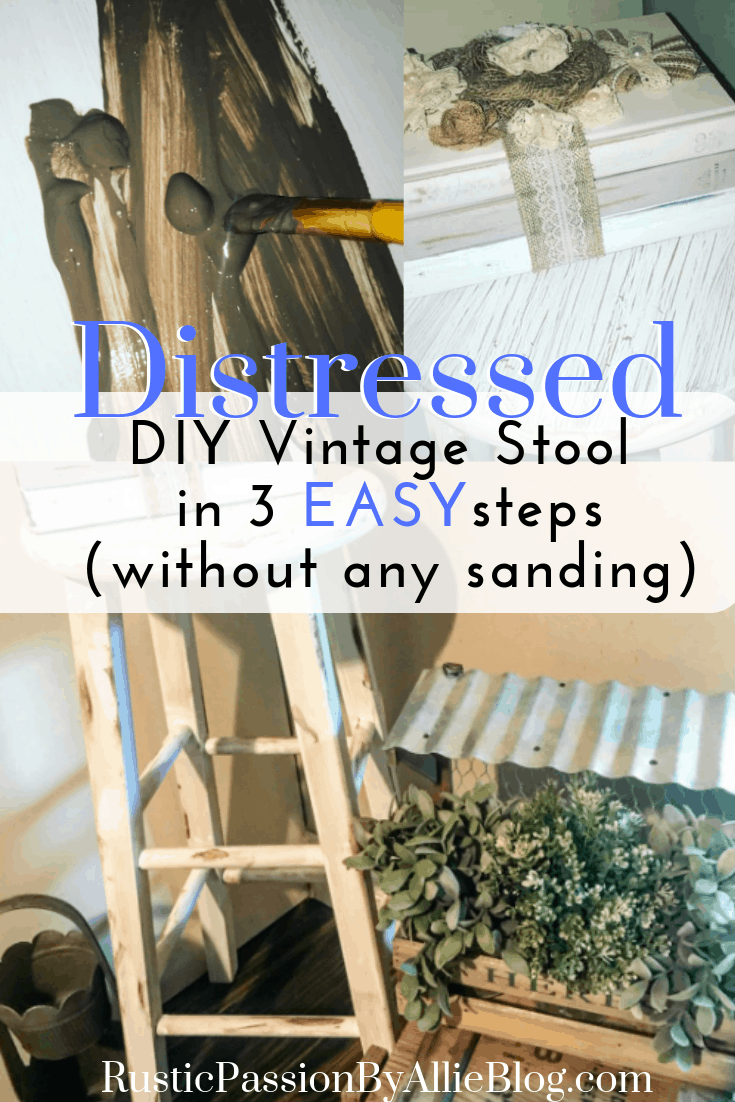
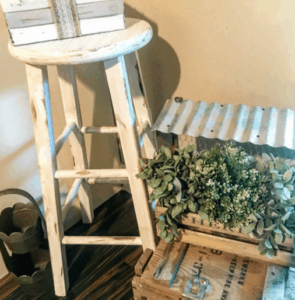
So here I am going show you step by step how you can turn a regular stool or really any piece of wood furniture into an old antique looking item without any sanding. There are only a few steps and will only take you a few minutes to do. Trust me, after this you will want to give a quick makeover to literally EVERYTHING in your house! 🙂
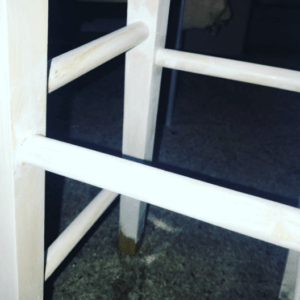
I have had this stool forever honestly and thought it was so ugly so I wanted to give it a makeover.
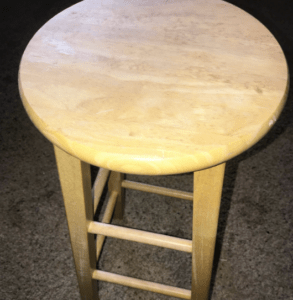
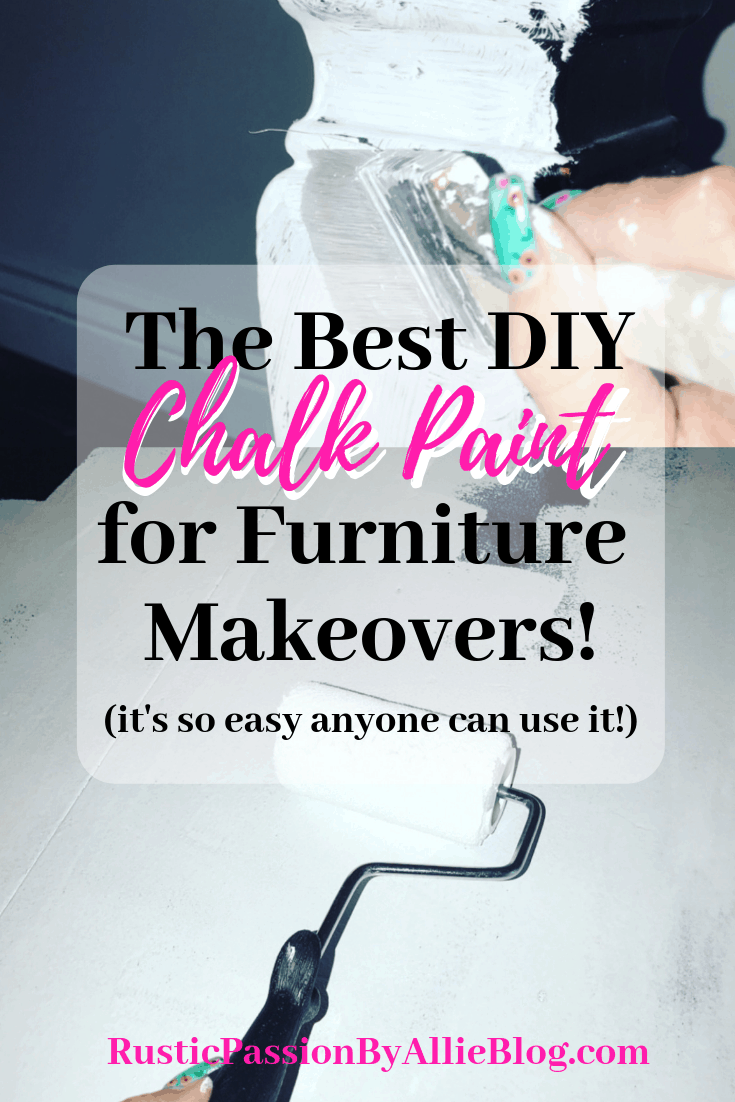
So I began by painting the stool white. Milk paint or chalk paint isn’t something I would recommend for this project. I just used white acrylic paint and it worked perfect. I’ve painted so many projects with milk paint and chalk paint and I love them! But because you are painting so many layers it won’t work out for this technique.
Click the link if you love using Chalk paint! I made chalk paint with the recipe and found it’s the best I’ve ever used!
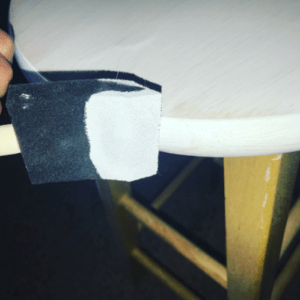
Carefully I painted the entire stool to make sure I didn’t miss any of it. So be expecting the first layer to take the longest. The end result won’t look as good if you don’t take your time in the beginning.
You will want to paint a couple coats.
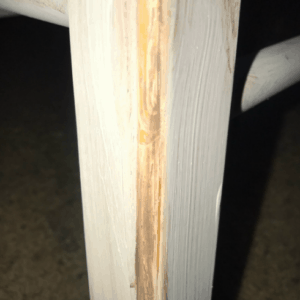
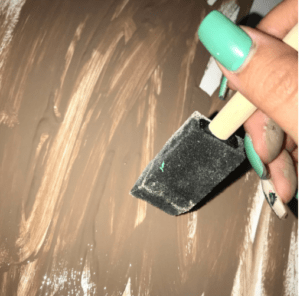
Painting a light brown streak on the edges using the paint color Brown Sugar once the white coats were dry.
Experimenting when crafting is something I love to do! So I have used a million shades of paint when distressing. I love the way light brown sugar color looked under the white layers.
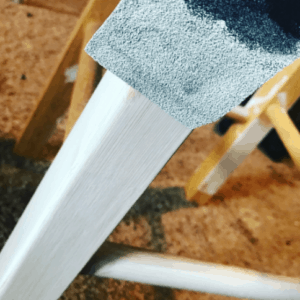
Then I painted the edges where the stool would naturally start paint chipping. Using my finger and smudged down along the sides.
I found that using my finger made the “distress” look more natural!
I didn’t paint the entire edge. Just taking the brush up and down to create streaks that were about 3 inches long. Each leg had two or three streaks on it. Which turned out to the perfect look.
Once I painted all the leg edges brown, then I coated the top of the stool brown.
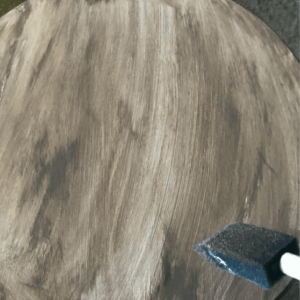
I let it dry for a few minutes once the top of the stool was completely brown.
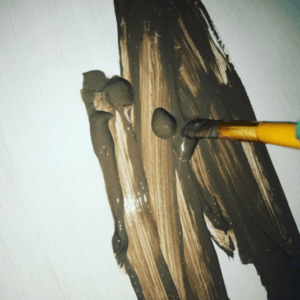
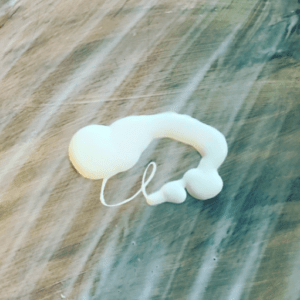
After you have let your stool dry you will want to use White Elmer’s Glue to paint on the top of the stool.
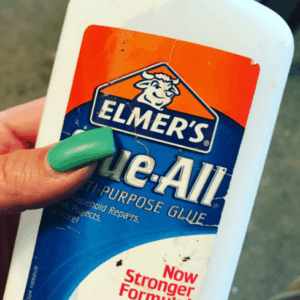
I had to make sure it was evenly coated and all the paint was in the same direction.
You will want to pay attention. This part is super important, because it will peel in the direction it’s painted.
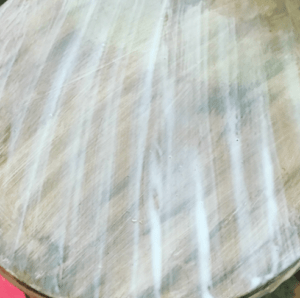
Then I painted the stool with glue I painted a coat of white paint on top while the glue was still wet. You need to make sure the paint hasn’t dried.
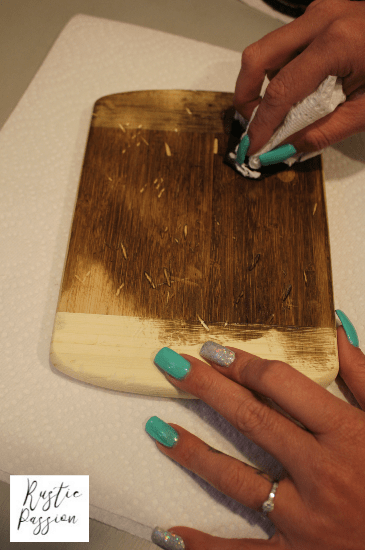
After the last coat of paint was covering the entire top I brought my blow dryer out and started to blow dry the paint and glue coats.
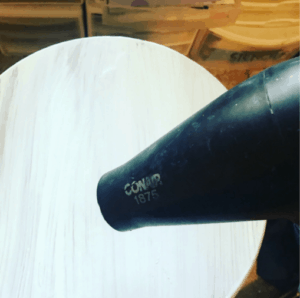
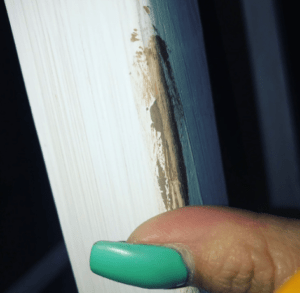
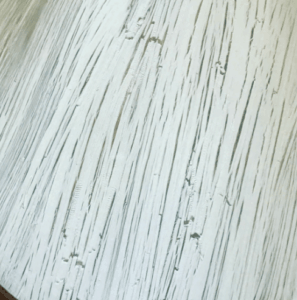
Once I saw that the white top coat start peeling away I knew the distressing stage was beginning. I started to see the brown layer through. The stool needs to sit for a couple hours to make sure it was 100% dry.
Distressing isn’t always perfect. We make mistakes! So don’t stress if it didn’t turn out the wait you wanted. Just try again!
You won’t believe how easy it is to start a project over to by painting over again!
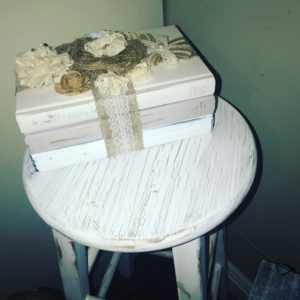
Here is the finished project!
I love the way the stool turned out. It looks so pretty! I told you once you try this easy distressing technique you will want to give a quick makeover to all the things in your house!
If you want to see how I made these pretty shabby chic books you can see it HERE.
Thanks for reading this blog post y’all. I really am so glad you stopped by today. Come hangout with me and let’s be friends on Social Media! I post all the time to Instagram, Facebook, and Pinterest. Most of my posts are on Instagram! So come say hi!
I would love it if you were a part of my blog family! Building a community is one of my favorite things about blogging.
So fill out the form below and let’s connect!
My email list is something I pour my heart into so don’t forget to sign up. Emails get sent out weekly. I ALWAYS share the best Home Decor tips possible with y’all.
Have you been wanting to create your own blog? I make ALL of my income from being a full time blogger. Keep reading if blogging is something you have always been curious about.
Take a look at my blog post How to start a Blog the easy way! I’ve included a list of the best tools I use for my blog. I have used all the items in this blog post personally and absolutely love them. I have also linked discounts or the best price possible for each item. Go read it now and start a blog the easy way!

Take a look at more Blog Posts You will love!
Hey very nice blog! http://www.seo.matrixplus.ru/out.php?link=http://alternatif188bet.com/
Very interesting information!Perfect just what I was looking for! http://angeskincare.com/
Just what I was looking for, thanks for posting. http://almost-freeprod.com/?p=119693
Good day very cool blog!! Guy .. Excellent ..
Superb .. I’ll bookmark your site and take the feeds additionally?
I’m glad to search out so many useful info here within the publish, we need work out more strategies in this regard, thank you for sharing.
. . . . . http://0.7ba.info/out.php?url=http://www.mbet88vn.com
Good day very cool blog!! Guy .. Excellent ..
Superb .. I’ll bookmark your site and take the feeds additionally?
I’m glad to search out so many useful info here within the publish, we need
work out more strategies in this regard, thank you for sharing.
. . . . . http://0.7ba.info/out.php?url=http://www.mbet88vn.com
Amazing things here. I’m very happy to see your article.
Thanks a lot and I’m having a look ahead to contact you.
Will you kindly drop me a e-mail? http://www.stop-rmt.com/link/link.php?url=http://www.mbet88vn.com
Does your website have a contact page? I’m having trouble locating it
but, I’d like to send you an email. I’ve got some ideas
for your blog you might be interested in hearing.
Either way, great site and I look forward to seeing it develop over
time. http://www.betfortuna1.com/188bet
Does your website have a contact page? I’m having trouble
locating it but, I’d like to send you an email. I’ve got some ideas for your blog you might be interested in hearing.
Either way, great site and I look forward to seeing it develop over time. http://www.betfortuna1.com/188bet
This is a great tip especially to those fresh to the blogosphere.
Simple but very precise information… Thank you for sharing this one.
A must read article!
Keep on writing, great job!
Thanks for this… I’ve been googling for this info for some time now but haven’t been able to get anything useful.
Your “contact me” doesn’t seem to be working…? I’m having problems
with it but I would like to shoot you an email. Msg me ya?
Feel free to email me Allie@rusticpassionbyallie.com