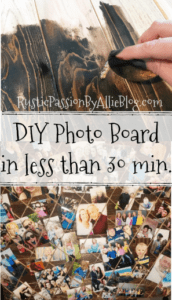
This pallet wood DIY Photo Board is the perfect rustic photo display for family pictures.
Mothers Day is always a hard day for me. Growing up without my mom and our Infertility makes it a day I usually don’t look forward to. The only thing that I truly enjoy about it is the family time we get and the fact that we celebrate the day for Tysons mom. We love making it a good day for her and all the other mothers in our family.
This year I wanted to make something special and memorable for her. Tyson has such a big family and we are all so close. So I knew my mother in law would love a photo board to display all the people she loves the most.
This was such a fun project and it is very easy for you to do yourself.
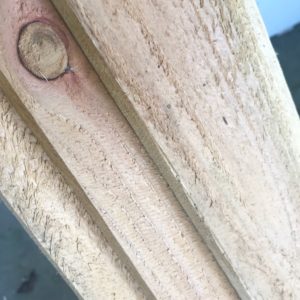
First I went and picked up 3 fence boards from Home Depot. I used 2 of them for the front of the photo board.
I cut each board into in 3 pieces, which gave me a total of 6 pieces of wood.
Each piece was 24 inches long.
The 3rd fence slab I cut 2 pieces that were 20 inches long.
I lightly sanded all the pieces of wood. I didn’t want to sand them too much because I wanted it to still have a rustic look.
I put all 6 of the 24 inches wood pieces together and attached them together by using the 20 inch pieces to hold the entire photo board together.
Then I nailed it all together.
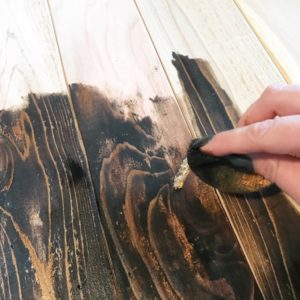
Once the photo board was attached together it was ready to stain.
I used Minwax Dark Walnut Stain.
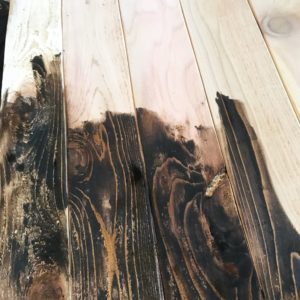
This is my go to and favorite type of stain.
I stained the entire board. It’s a lot easier to use an old rag to stain instead of a paint brush. It makes the stain go on a lot smoother.
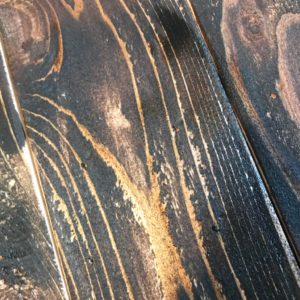
Once it was stained I took a paper towel and wiped off any extra stain. I let it dry for a bit.
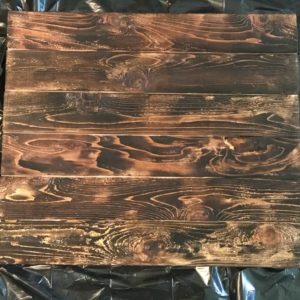
Then it was ready glue on the twine.
I started on the corners and hot glued the twine diagonal all the way across the entire photo board.
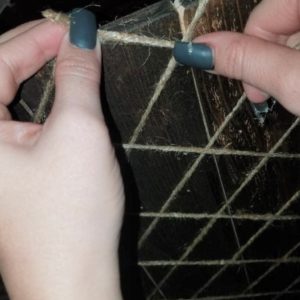
This part is a little time consuming. But it is so worth it to make sure they are perfectly straight.
Once I was done with all my lines I was ready to hot glue twine going the other direction.
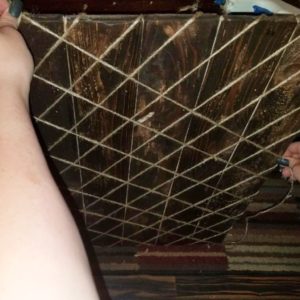
Once the entire board has all the twine glued you will want to glue all the corners down to the board. I added pearl embellishments onto the tops of the corners because I liked the way it looked.
Once that was complete it was ready for pictures to go on it!
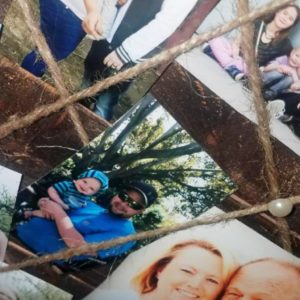
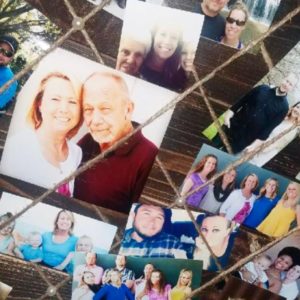

I gave this gift to Tysons Mom, and she absolutely loved it!
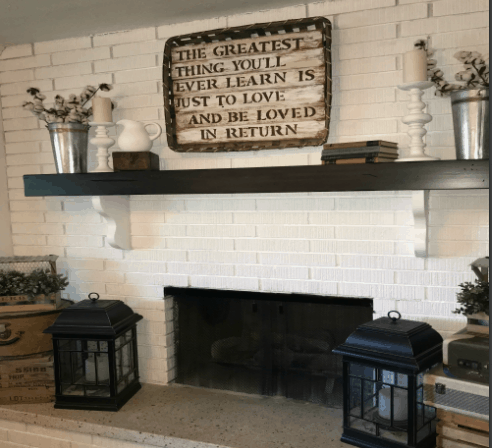
You should make your own photo board to go in your home it’s so easy and fun! I have multiple hanging in my house and love the way they look! It’s the cutest way to display multiple photos.
Well friends thanks for stopping by today! Have a great week.
You may also like this Post:
Where to buy over 100 of the Best Farmhouse Decor Items
The Best DIY Chalk Paint To Use on Furniture!