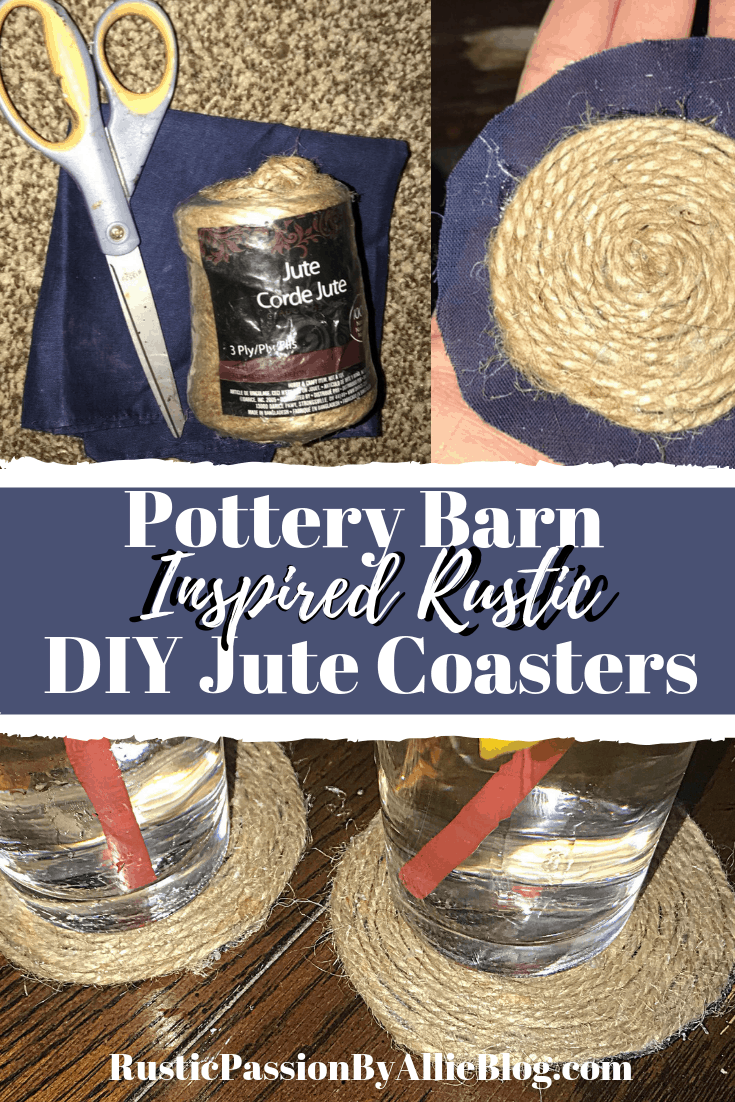
Make the Easiest Pottery Barn Lookalike DIY Jute Coasters.

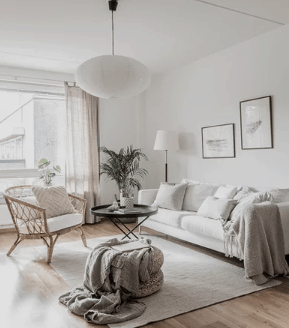
Hey loves. I hope this post reaches you well today and that your week is going absolutely amazing. I have been so motivated lately crafting like a crazy person and making all the things! You will love this post if you are obsessed with rustic decor like me so I really enjoyed making these cute Rustic DIY Jute Coasters. Really though working on this blog full time keeps me so busy. It’s makes me extremely happy sharing my passions with y’all. Absolutely love inspiring you to make your own DIY crafts!
Are you a craft junkie like me? Come join my blog family. Seriously do it right now! 🙂 Get inspired!
Popular Blog Posts:
Tell me what’s your favorite DIY farmhouse project you have been working on lately? I would love to hear them. Let me know on Instagram!
Today I want to show you a fun, and easy way to make rustic coasters. I saw some Pottery Barn Jute Placemats. They were adorable. Truth be told, I became inspired to make some Pottery Barn lookalike Jute coasters. I know you will love the fact that they barely cost anything to make! Affordable crafts are my favorite!
These were so easy and quick to make. Honestly, jute can be used for anything and everything. I have used it in so many Rustic Farmhouse DIY projects. Don’t forget to make sure you grab a big bundle because you never know what kind of fun things you will make with it.
Once you make these DIY Jute Coasters you will look for any excuse to use jute! 🙂 I know I do.
Let’s connect! Fill out the form below I will send you weekly DIY Blog tutorials you will adore!
Items you will need for this project:
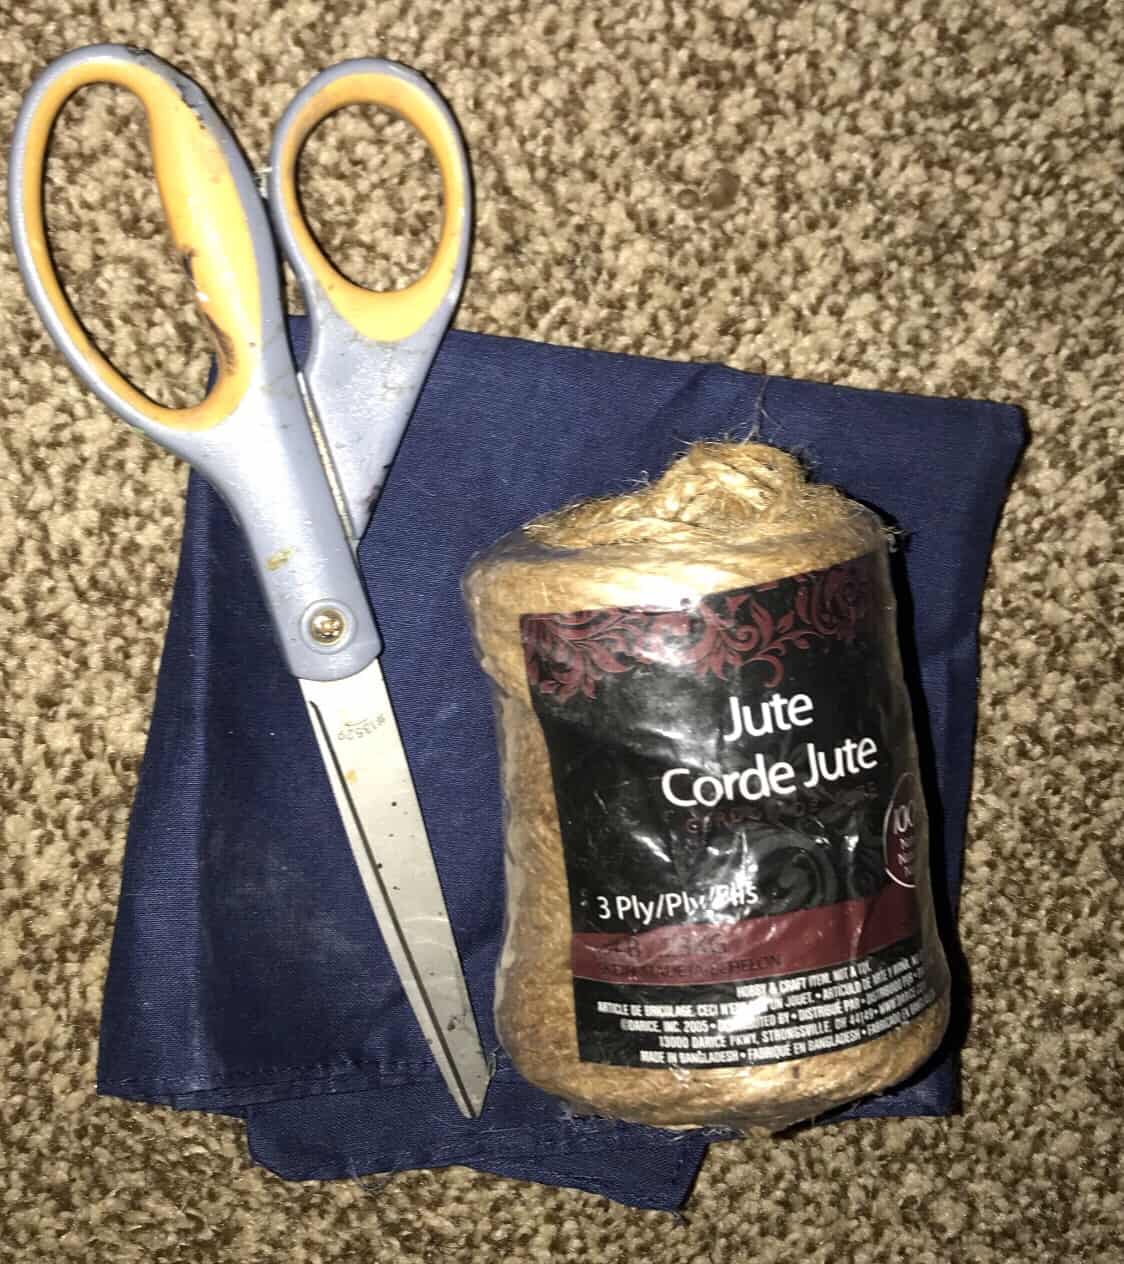
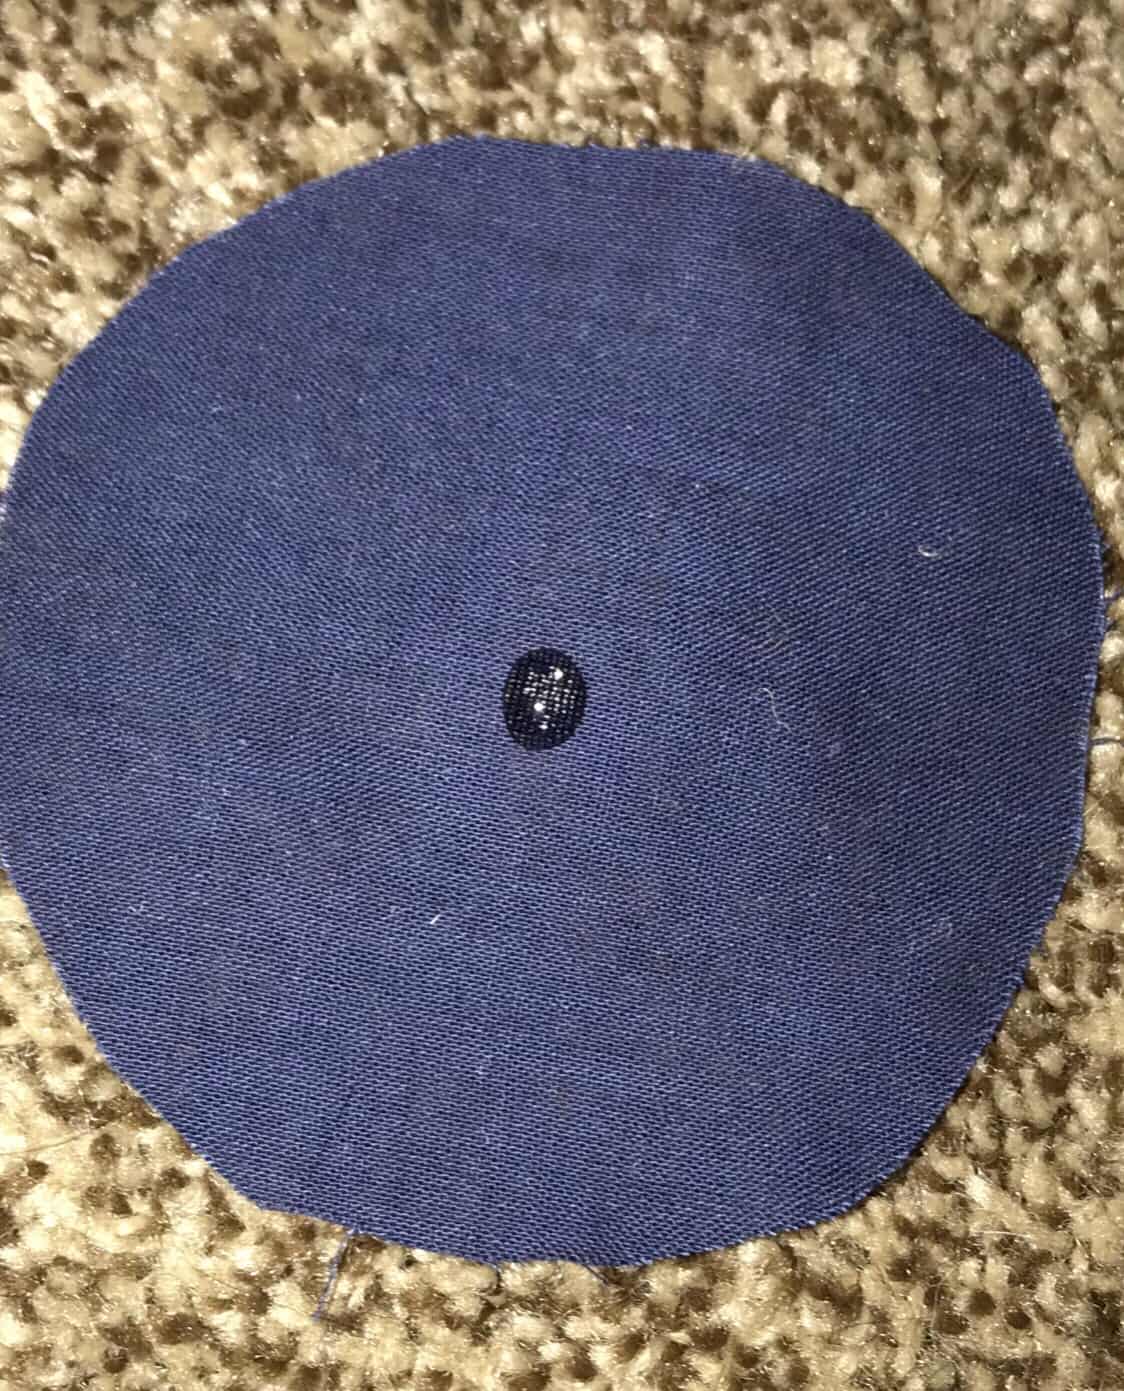
I cut the fabric into 4 squares that were about 4″x4″. Felt works better than fabric. But I didn’t have any on hand.
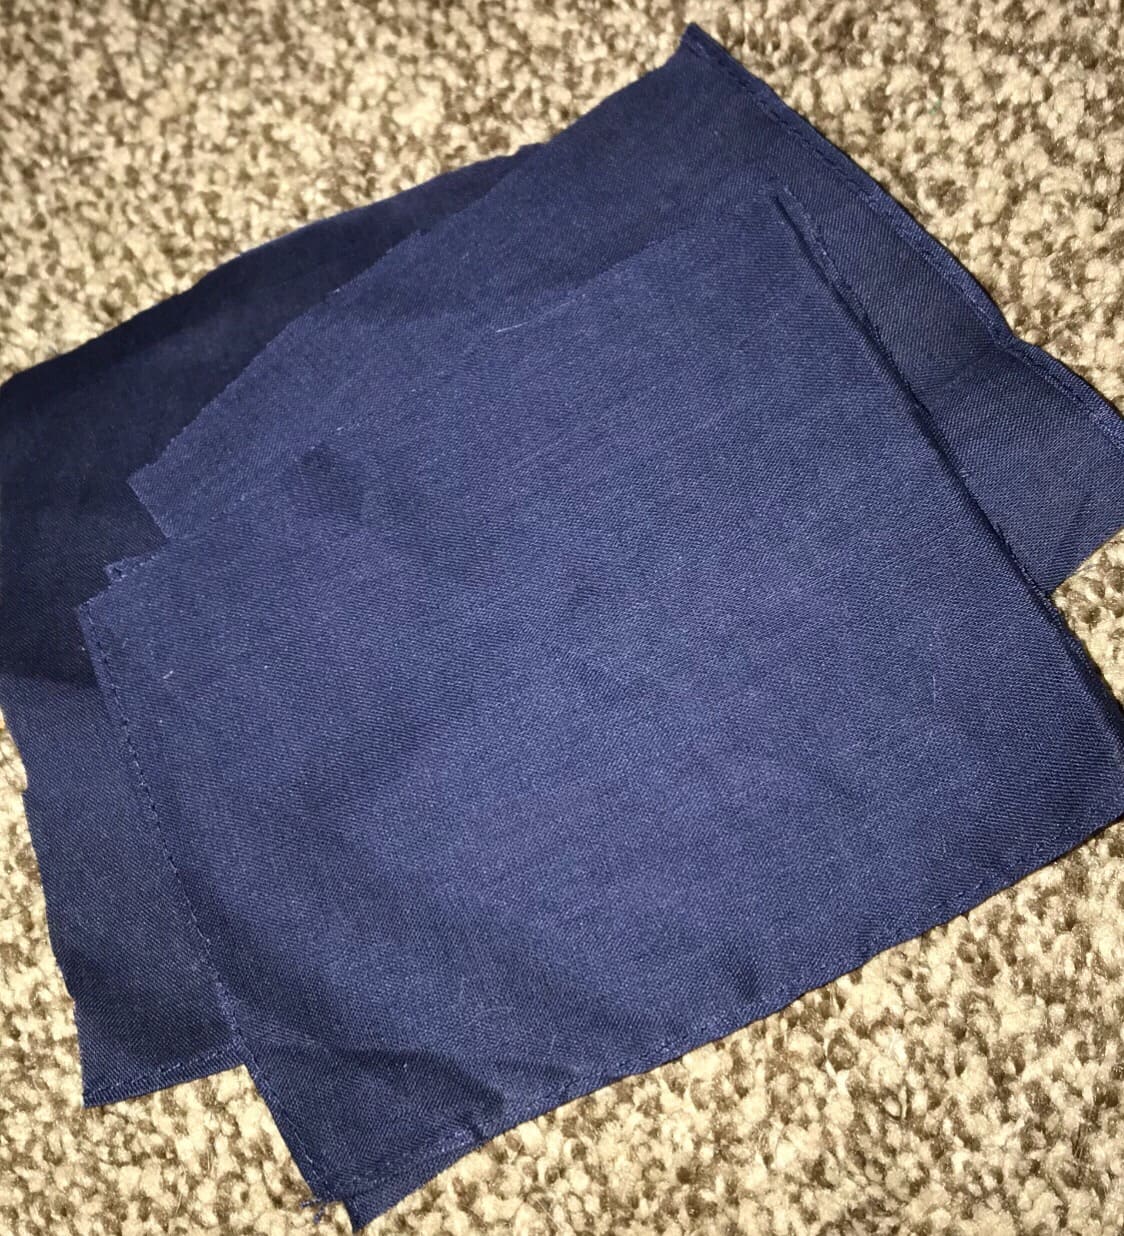
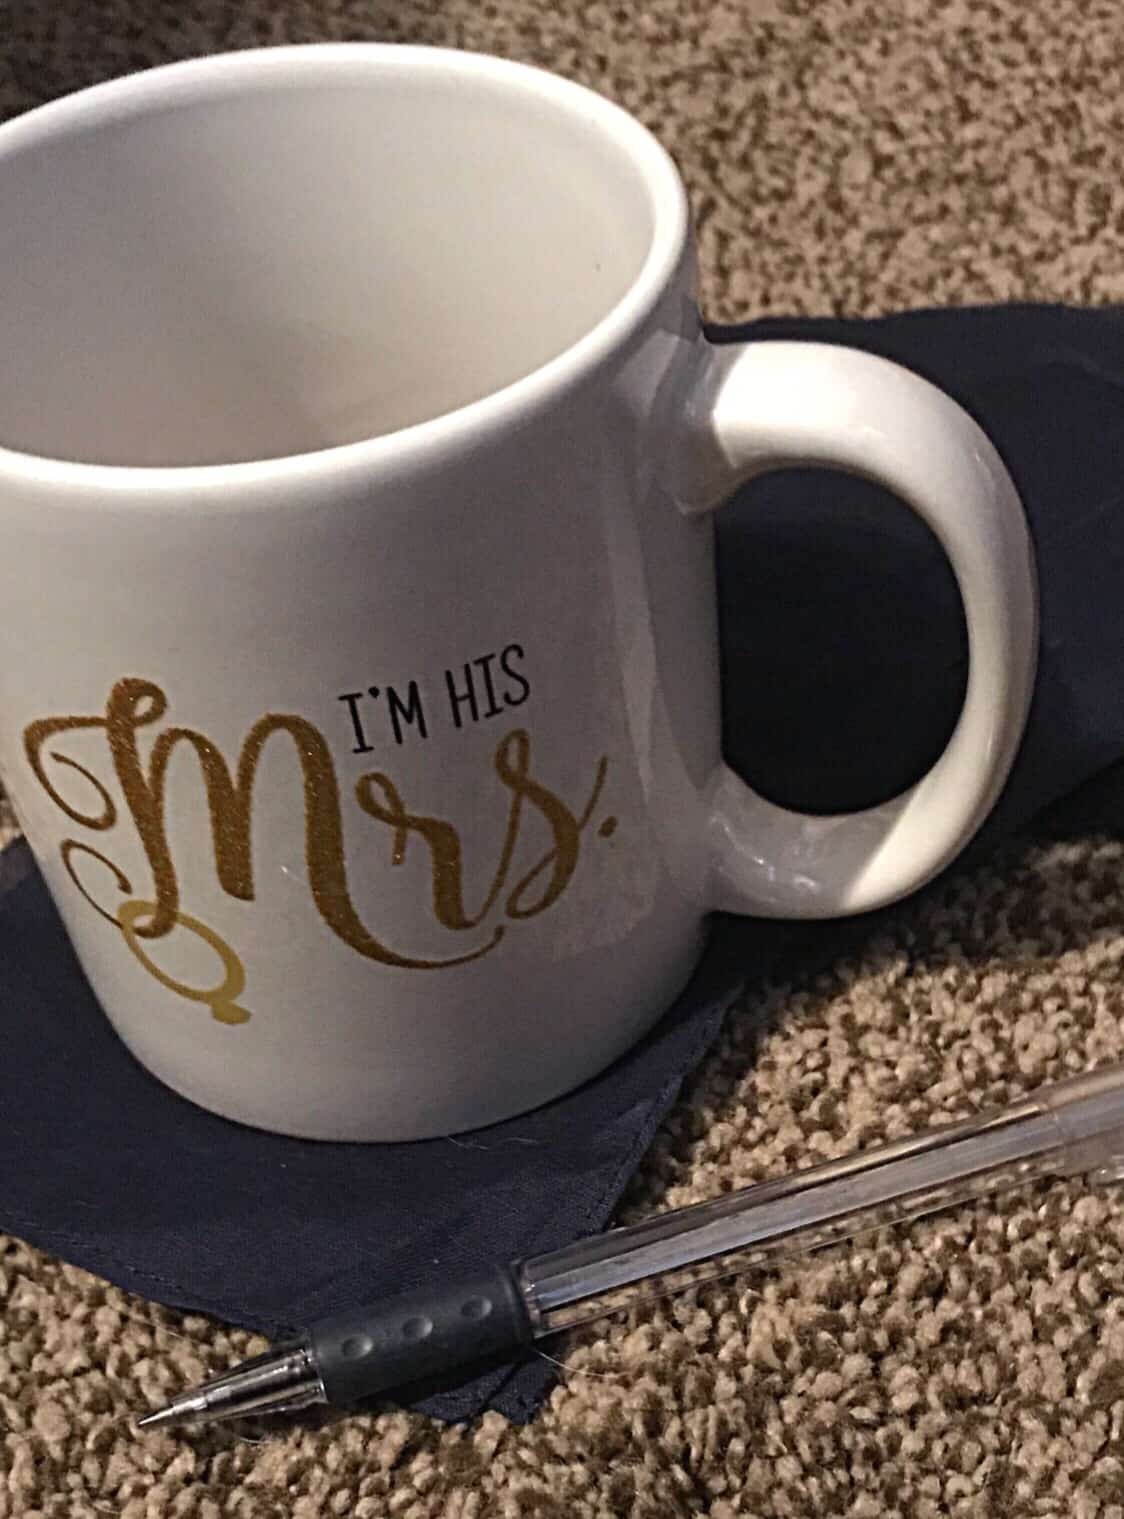
After I cut the 4 squares it was ready to measure the size of the coasters. I wanted them an even circle, so I actually used a coffee mug and traced a perfect circle.
Once I finished tracing the circles I cut them out and they were ready to start gluing twine on.

The fabric was wrinkly so I ironed these circles before I glued on the twine.

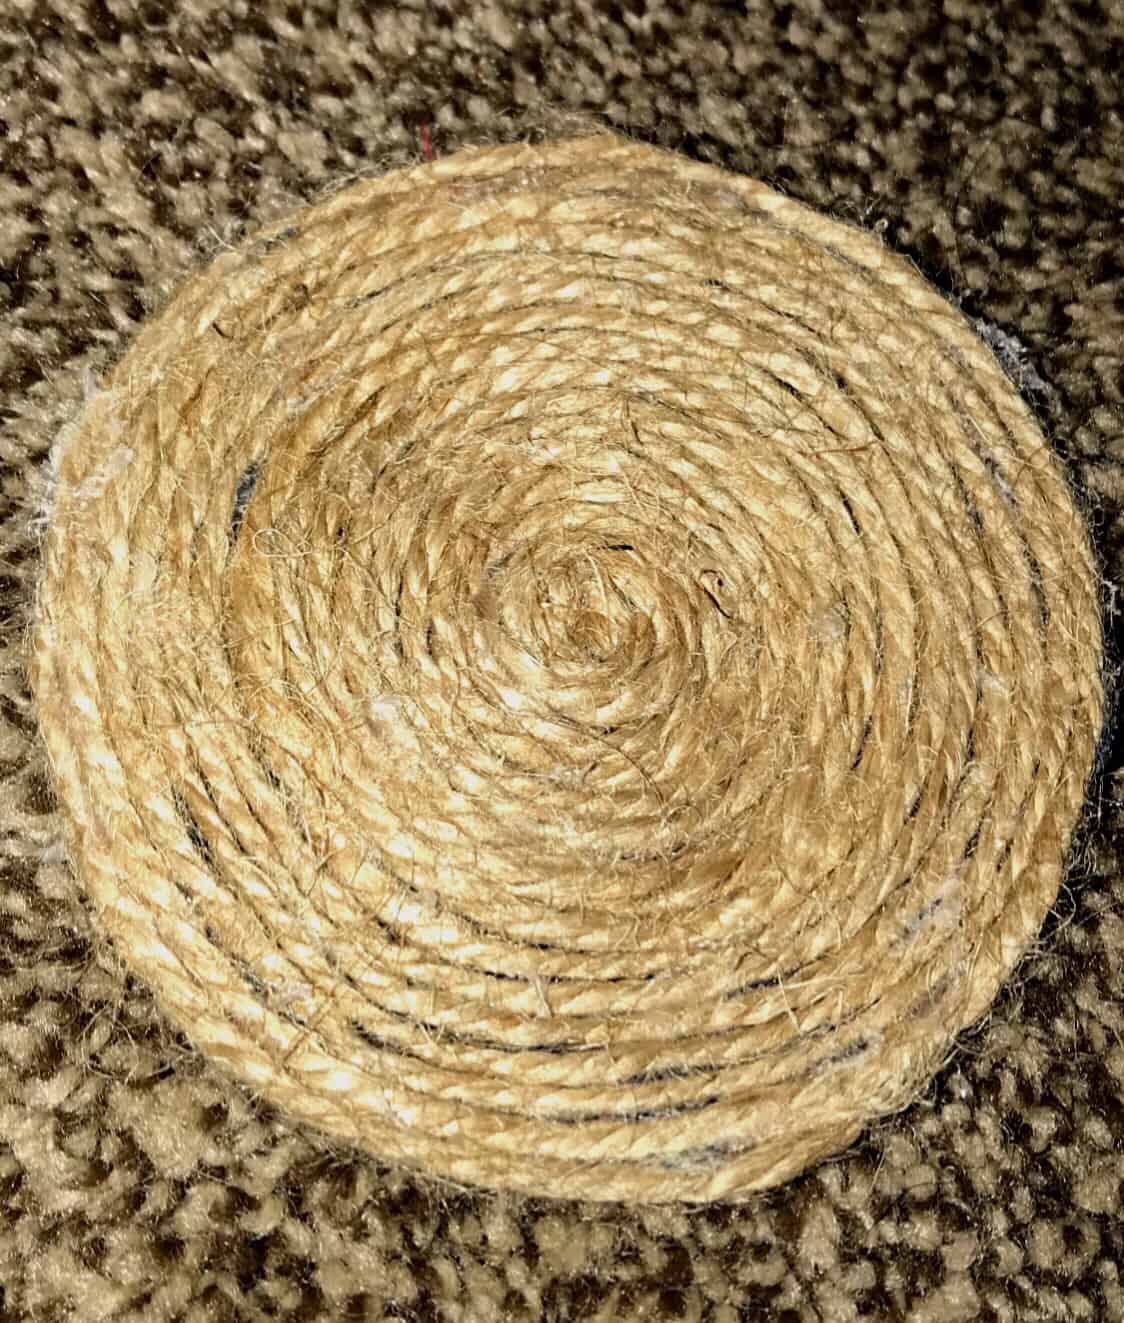
Starting from the middle I wrapped the twine in a circular motion around itself.
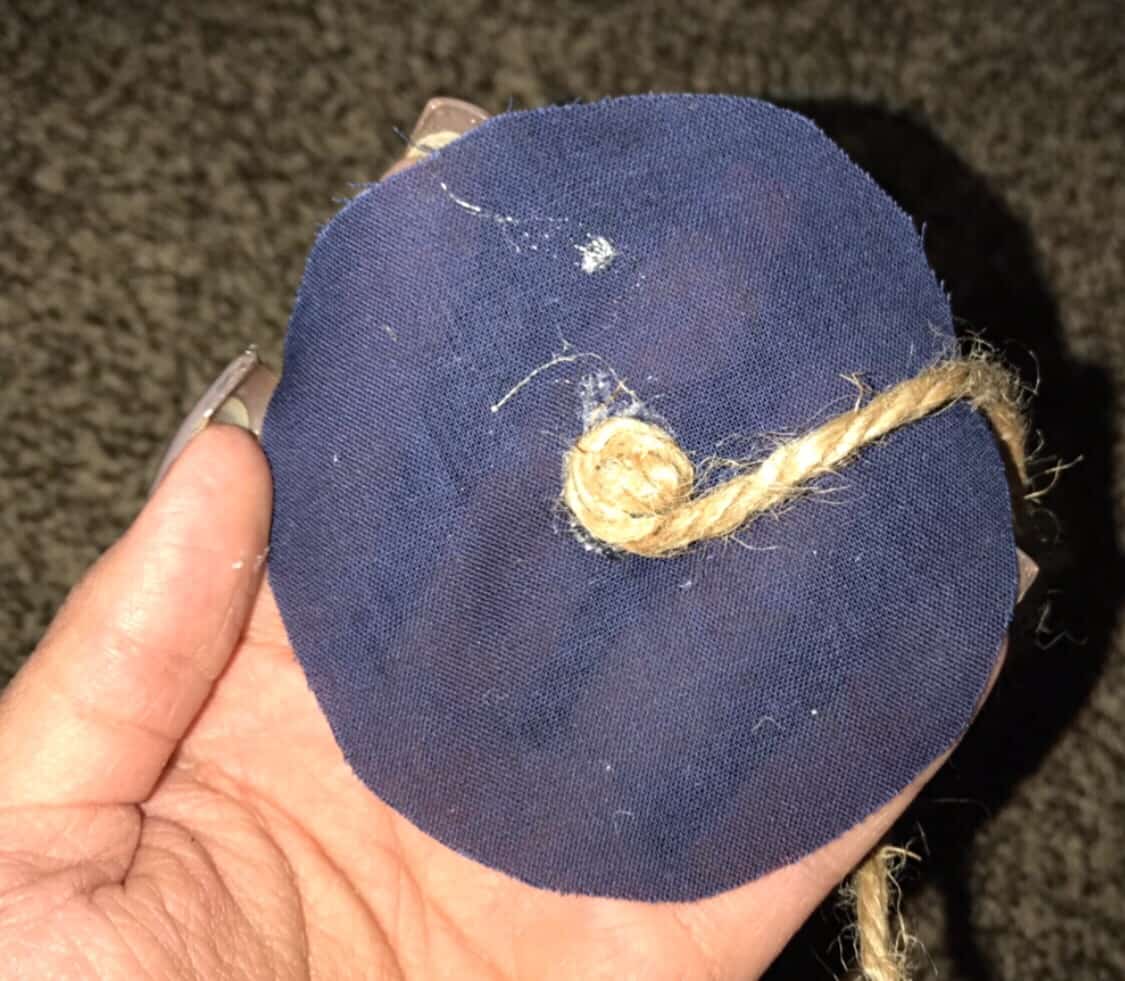
You will want to make sure you are holding it tightly together so they aren’t spaces in between!
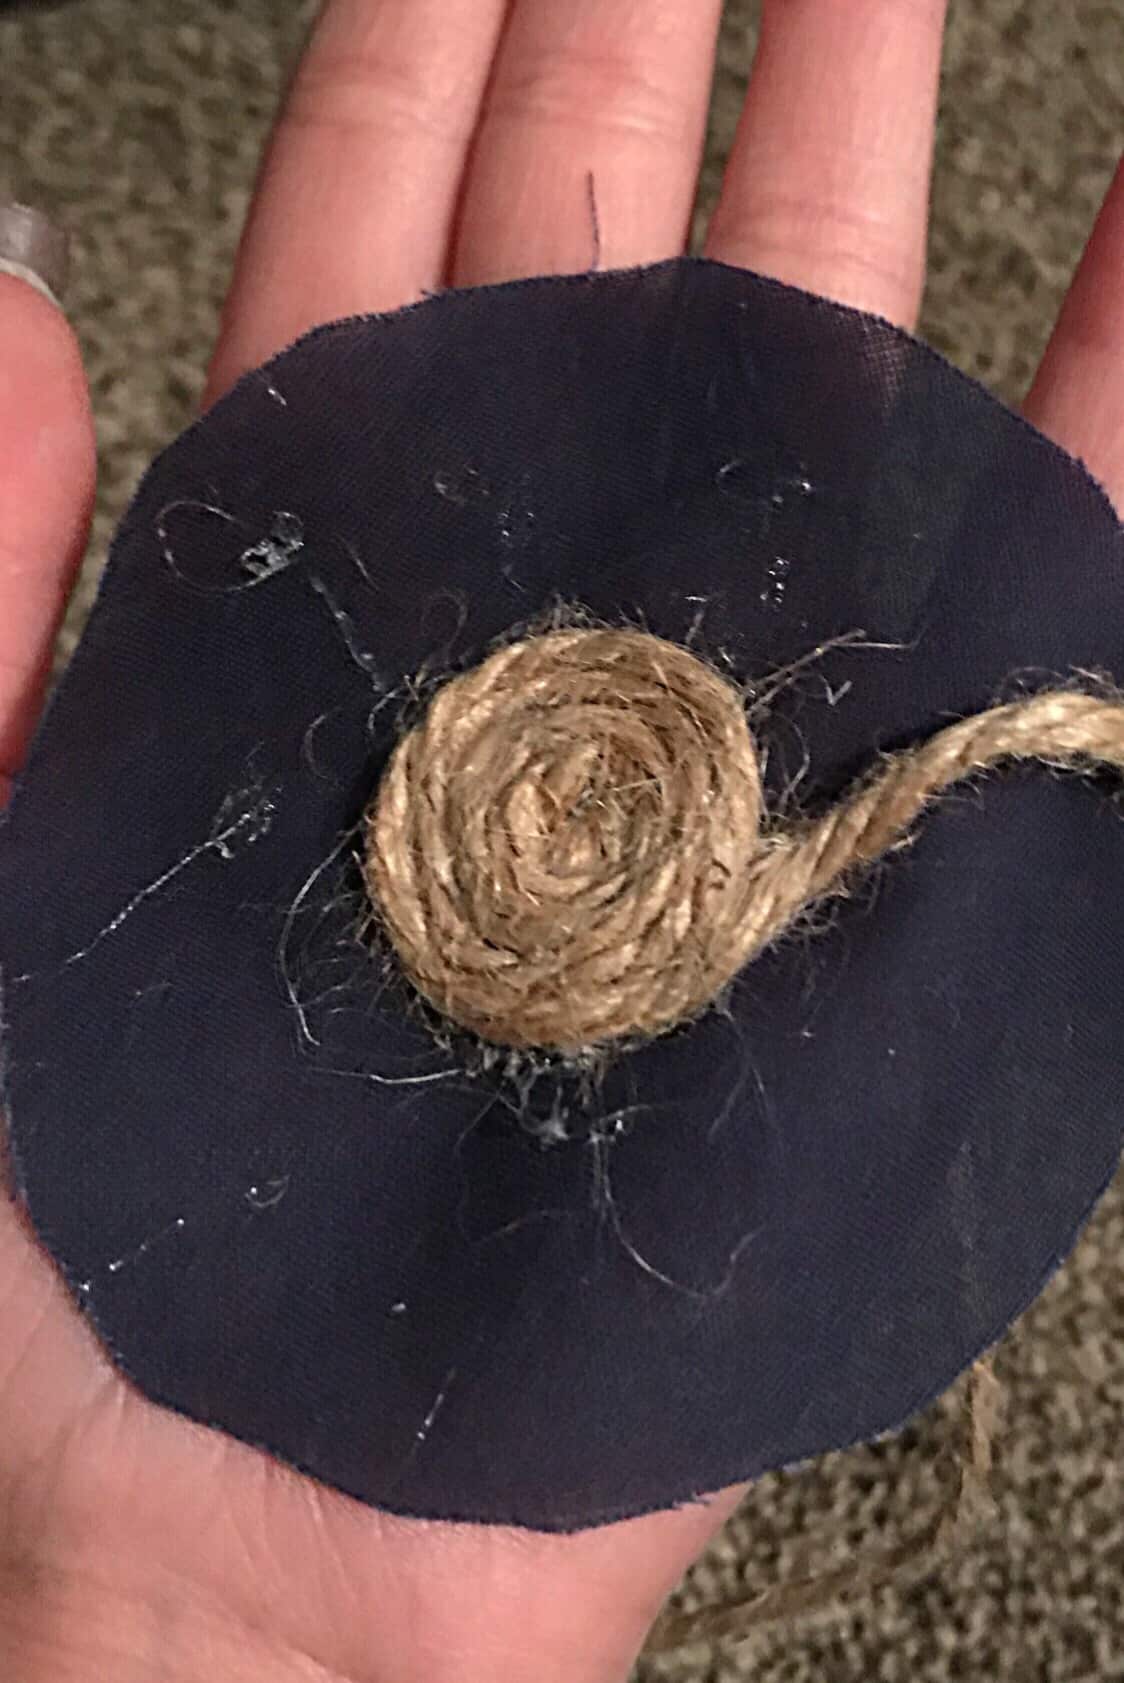
It is a little bit of a process but I used quite a bit of hot glue the entire time to make sure the entire coaster was glued down flat, and even.
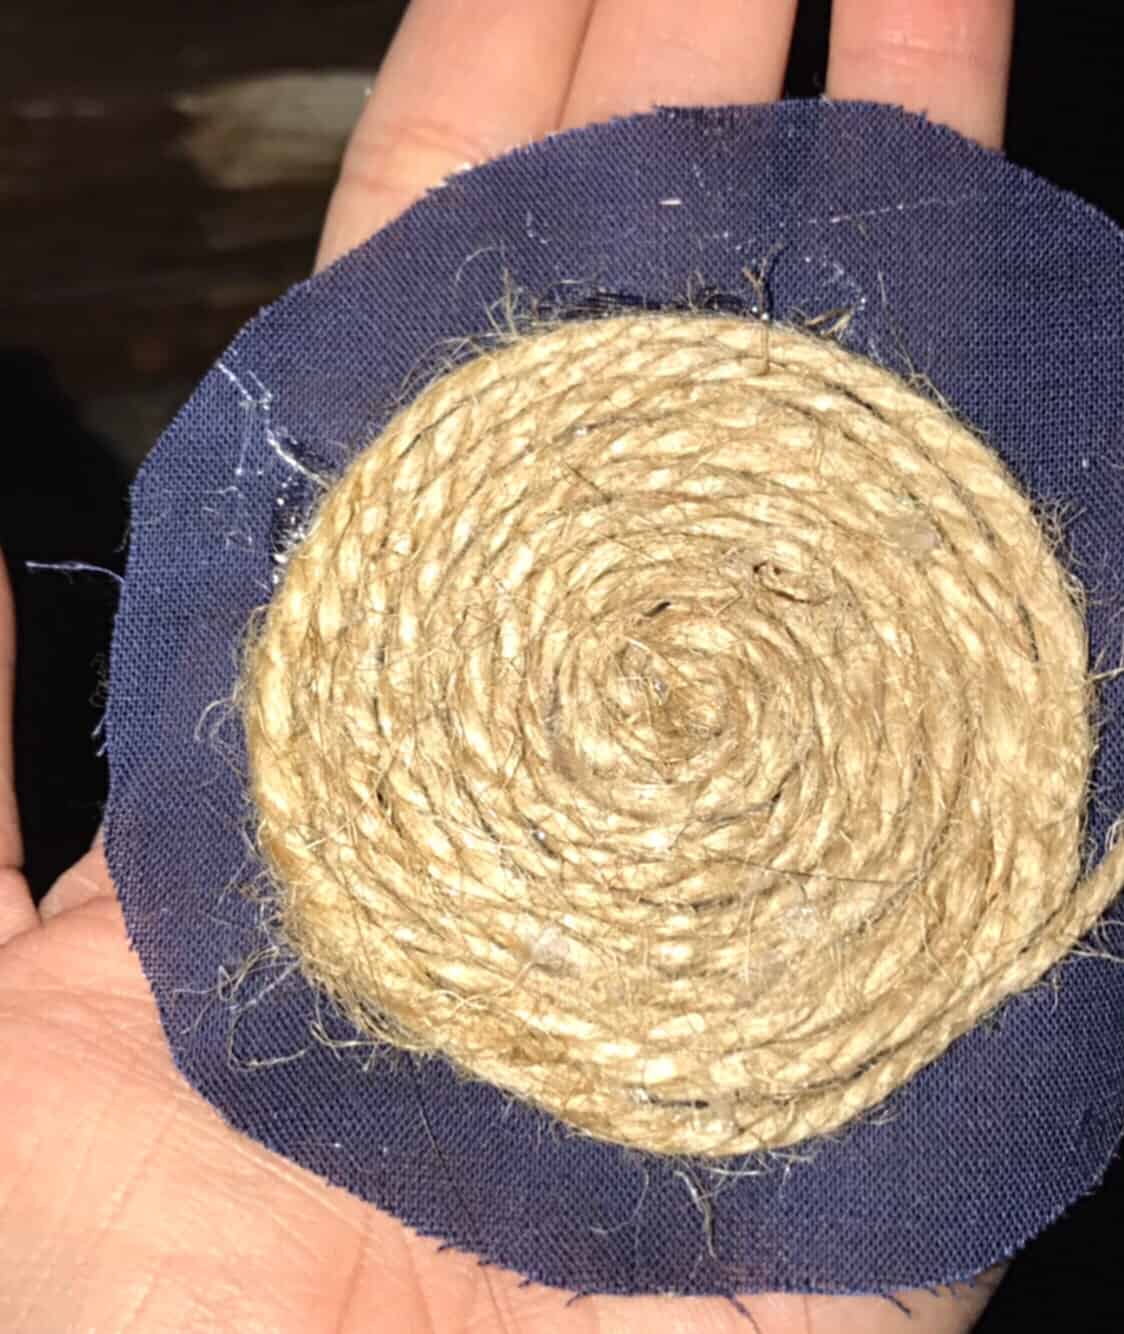
Here is the coaster finished and ready to be used. It turned out so cute and very affordable.
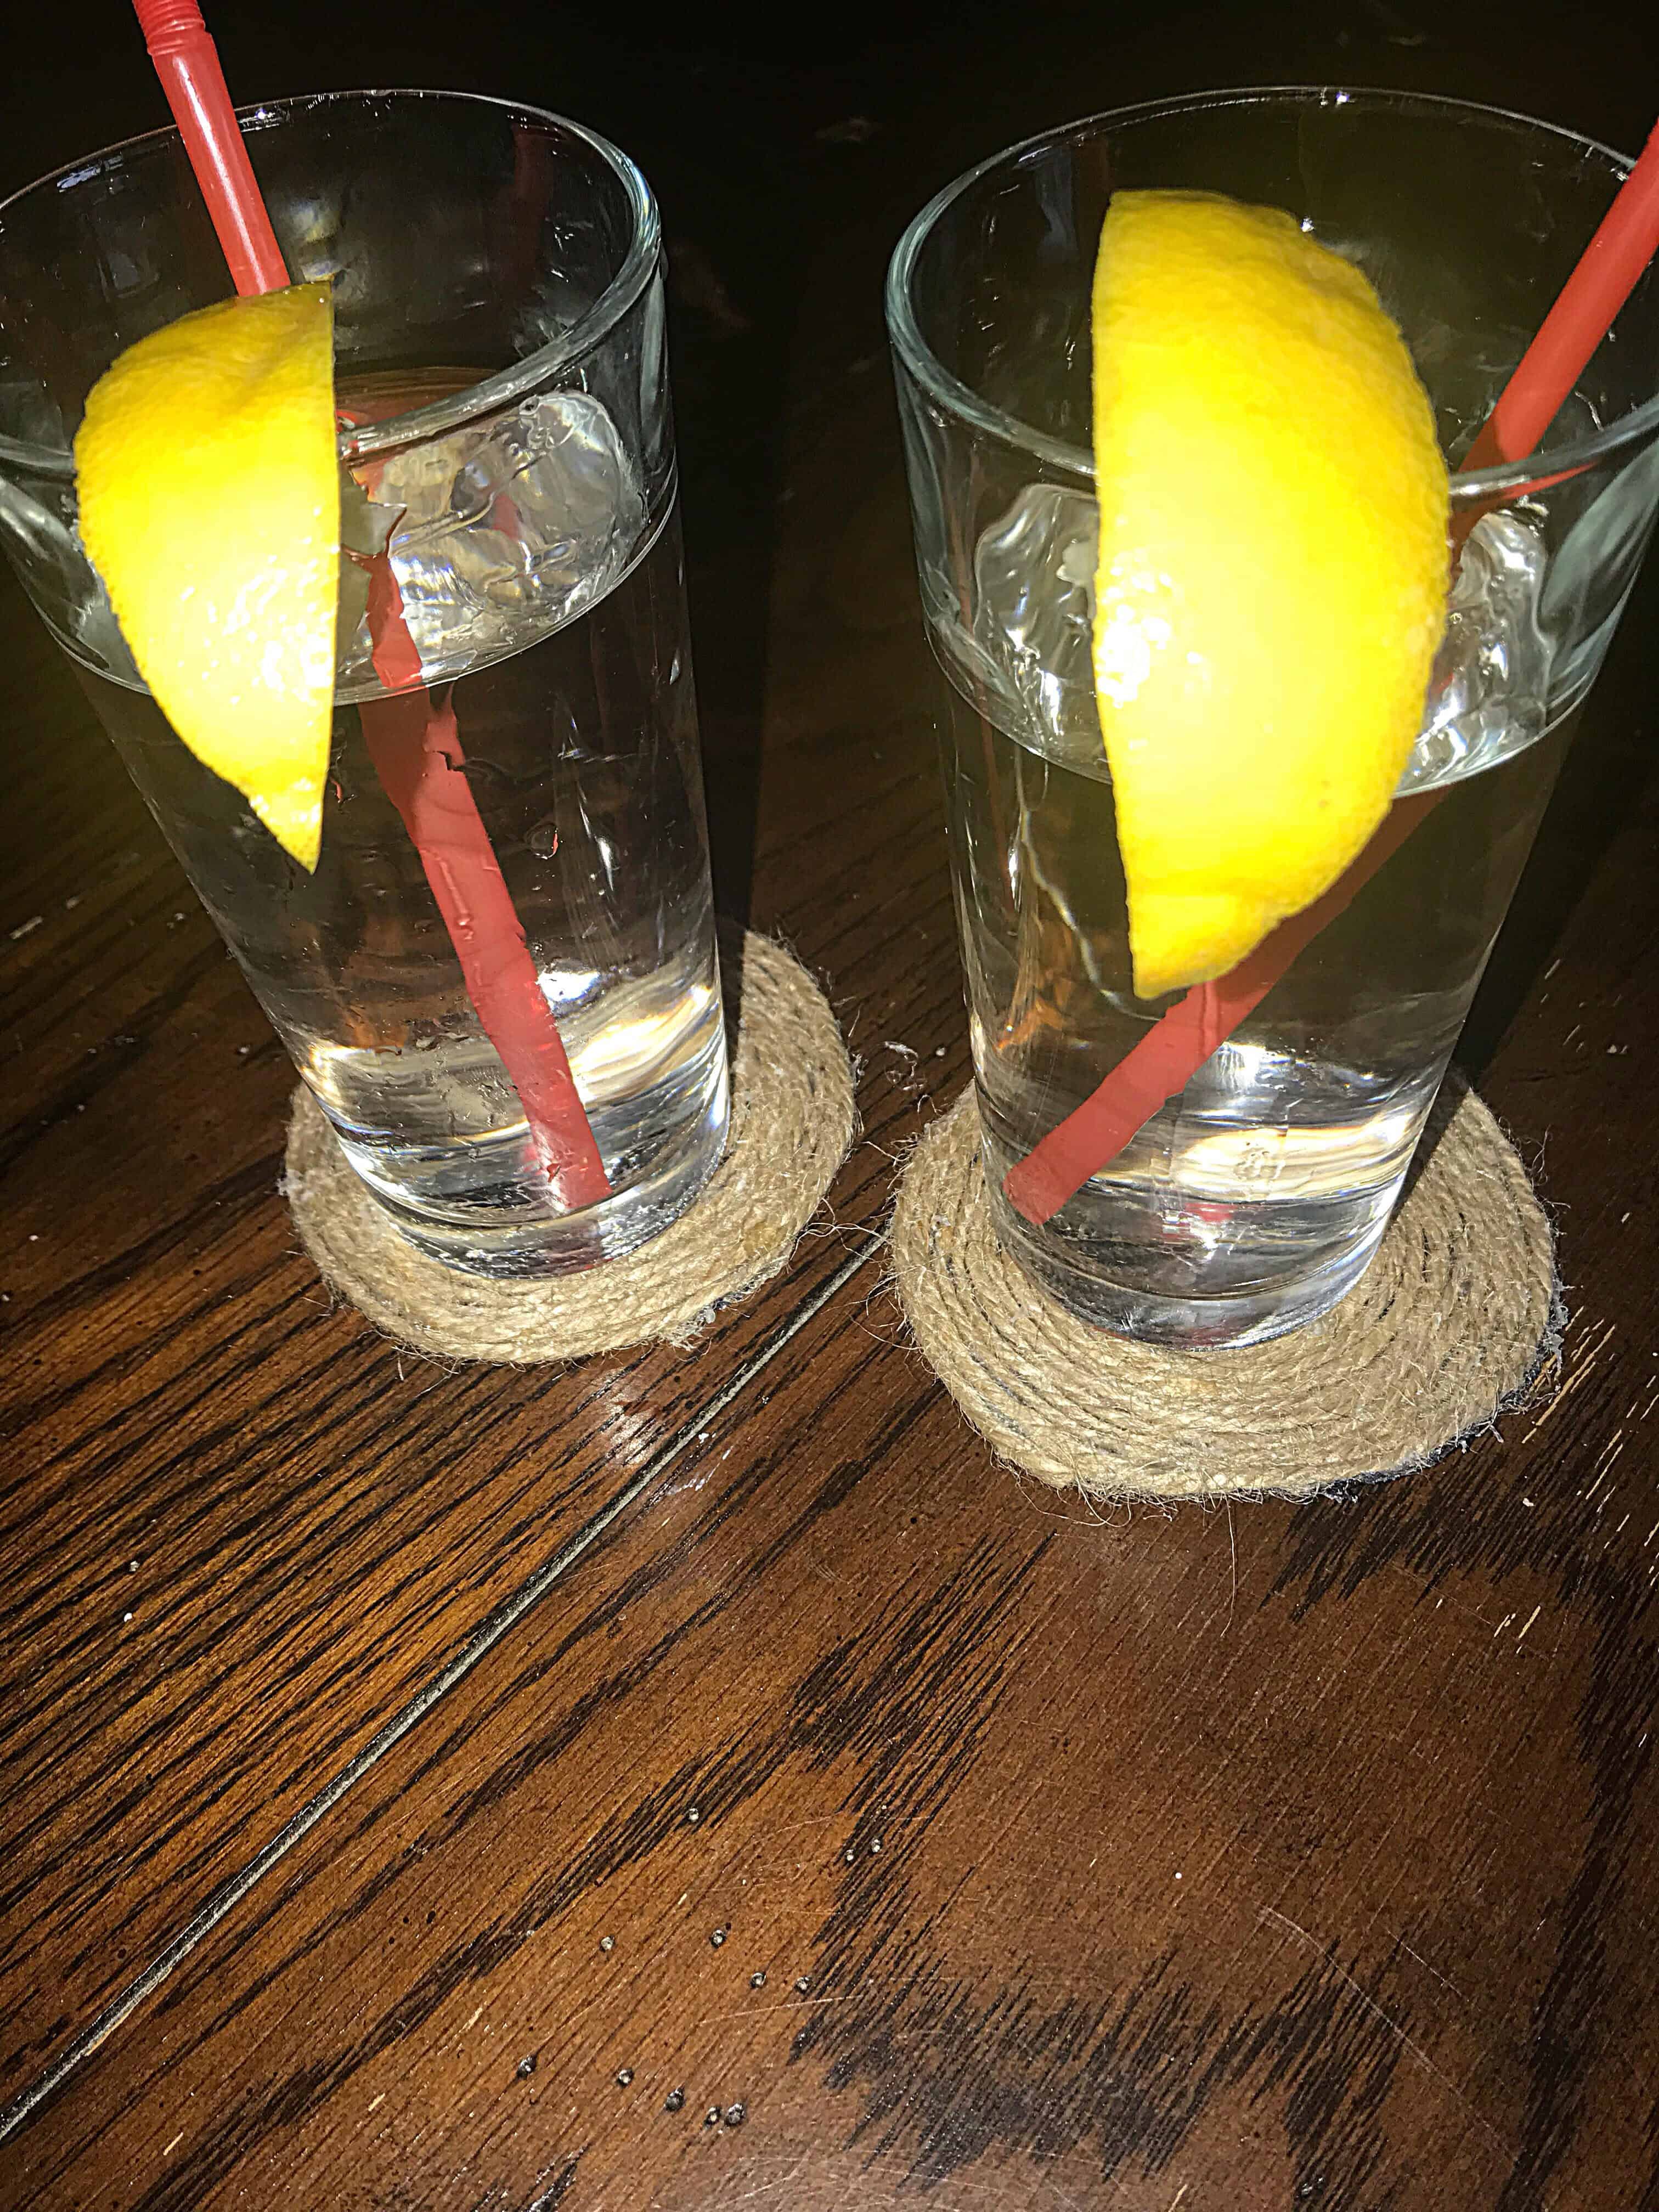
So if you are looking to make a fun DIY project try out these adorable coasters! You will love them! Don’t forget to tag me on Instagram.
Let’s hangout more than just here?! What do you say? Come say hi on Instagram, Facebook, and Pinterest.
Lastly, have you been wanting to create your own blog? I make ALL of my income from being a full time blogger. Keep reading if blogging is something you have always been curious about.
In other words here is an amazing post for y’all to give you step by step instructions on exactly what I use. Really though take a look at my blog post How to start a Blog the easy way! I’ve included a list of the best tools I use for my blog. I have used all the items in this blog post personally and absolutely love them. I have also linked discounts or the best price possible for each item. Go read it now and start a blog the easy way!

Thanks for stopping by guys. Have a great rest of your week.